
I’ve been meaning to go back to basics for some of my ‘how to’ posts, but then the low working memory aspect of ADHD struck and I forgot. 😅
There’s no time like the present, right?
Today, I’ll show you two easy ways to stretch watercolour paper.
But first, what does it mean to ‘stretch’ the paper?
Stretching watercolour paper refers to wetting, laying out, and securing the paper with painter’s tape, then allowing it to dry before we ever start painting. This process allows the fibres in the paper to soak liquid and expand so that, once we paint on it, the paper won’t warp or buckle.
This process is especially important if you tend to paint wet-on-wet.
If you’d like to know more about different kinds of watercolour paper or techniques, I have many resources available under the ‘Basic Watercolours’ tag.
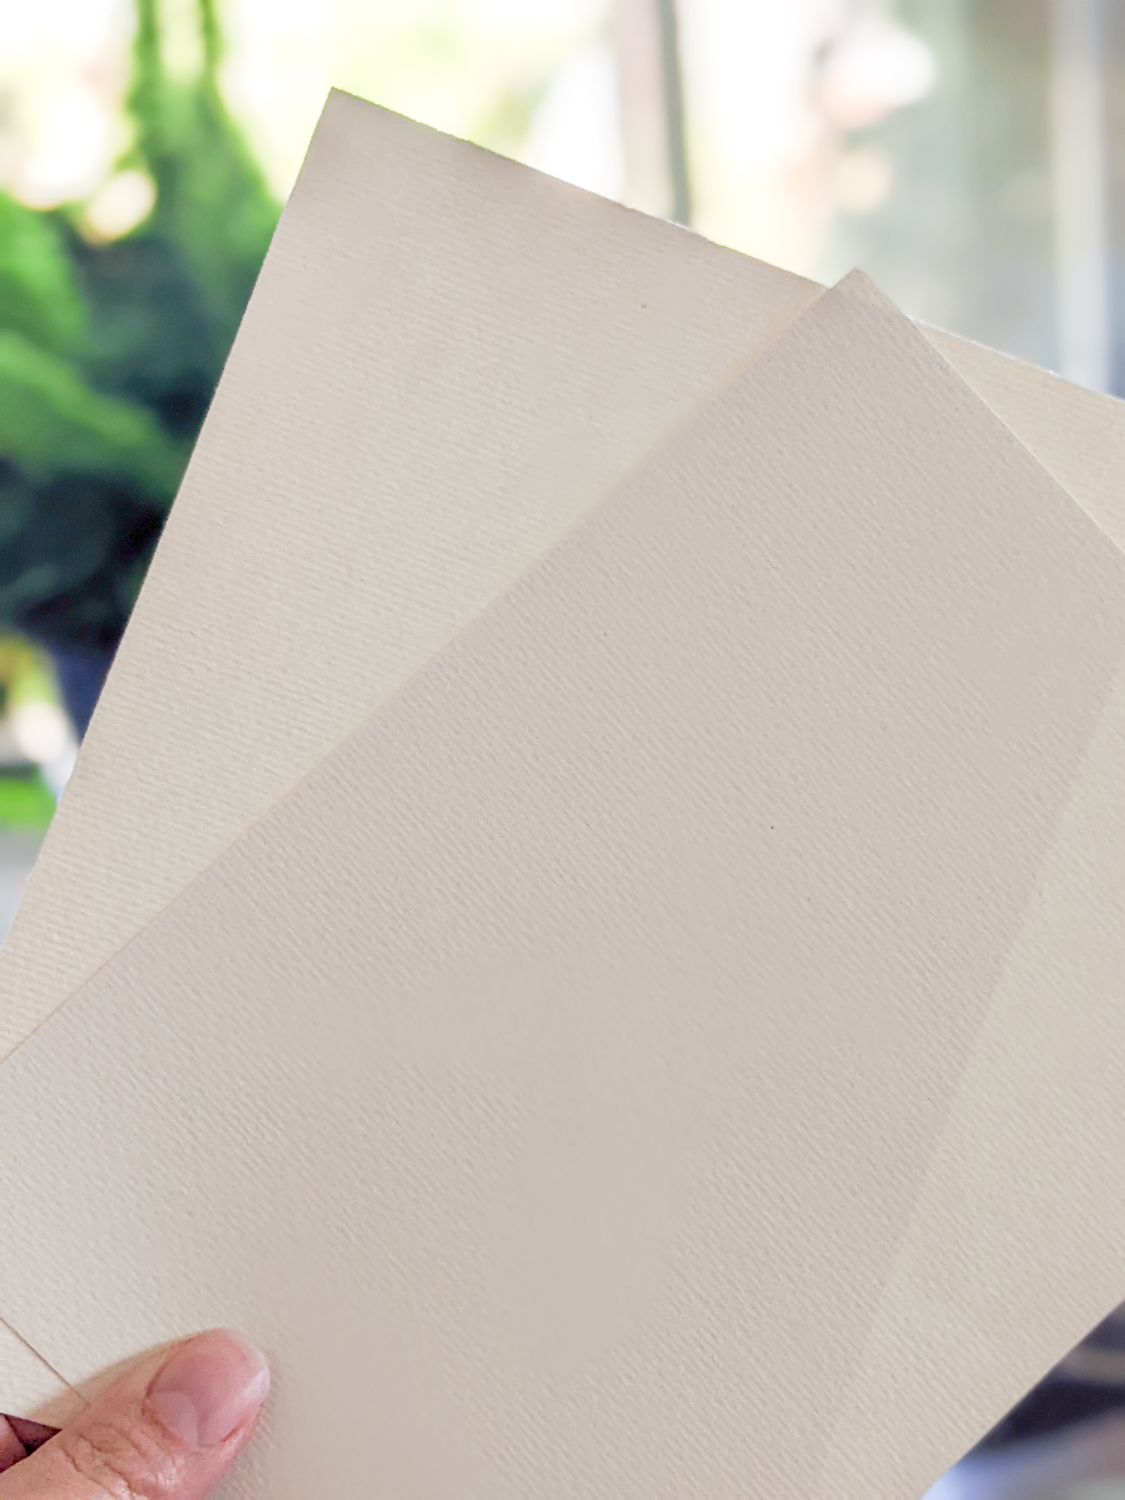
For this tutorial, I used 140lb/300gsm cold-pressed, cellulose-based watercolour paper.
You’ll Need:
- Watercolour paper
- Painter’s tape (or whatever kind of tape you prefer)
- A smooth surface that won’t be damaged by water (I used a ceramic tile)
- A paintbrush or spray bottle, and a container for water or a sink
Step One – Wet the Paper
There are two main ways to do this:
- Submersion
- Wetting with a paintbrush/spray bottle
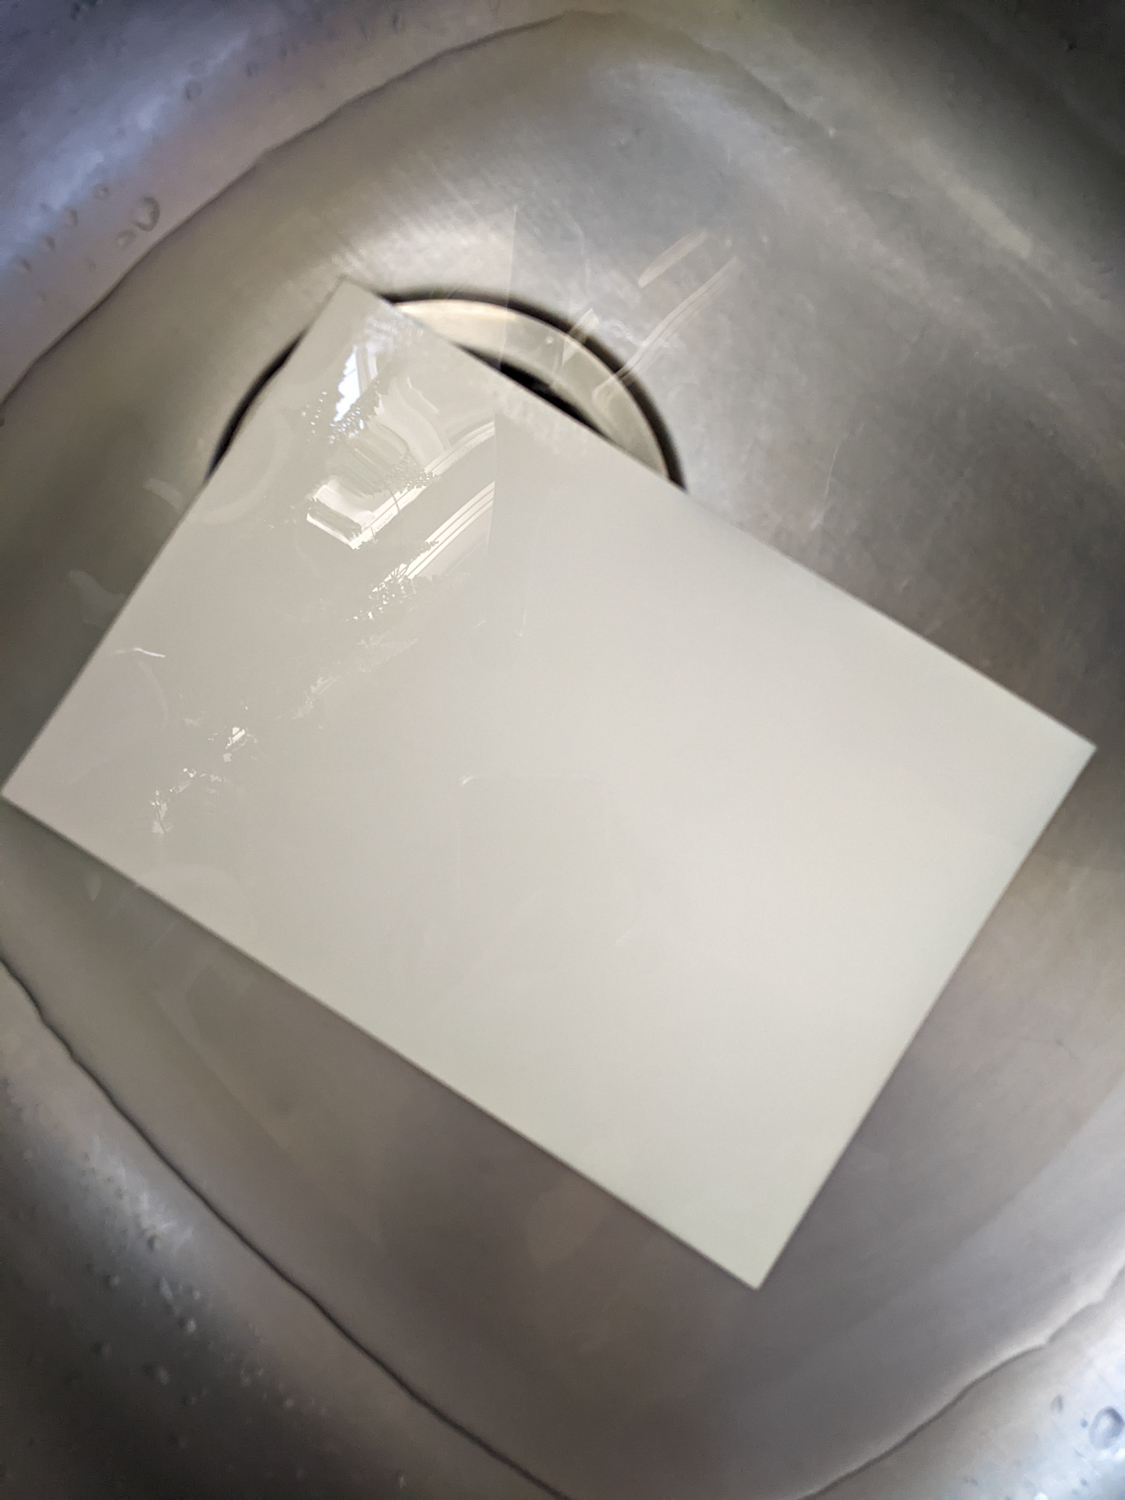
Submerging the page entails exactly what it sounds like. I cleaned the kitchen sink, then allowed the paper to soak in shallow water for about ten minutes. Easy-peasy.
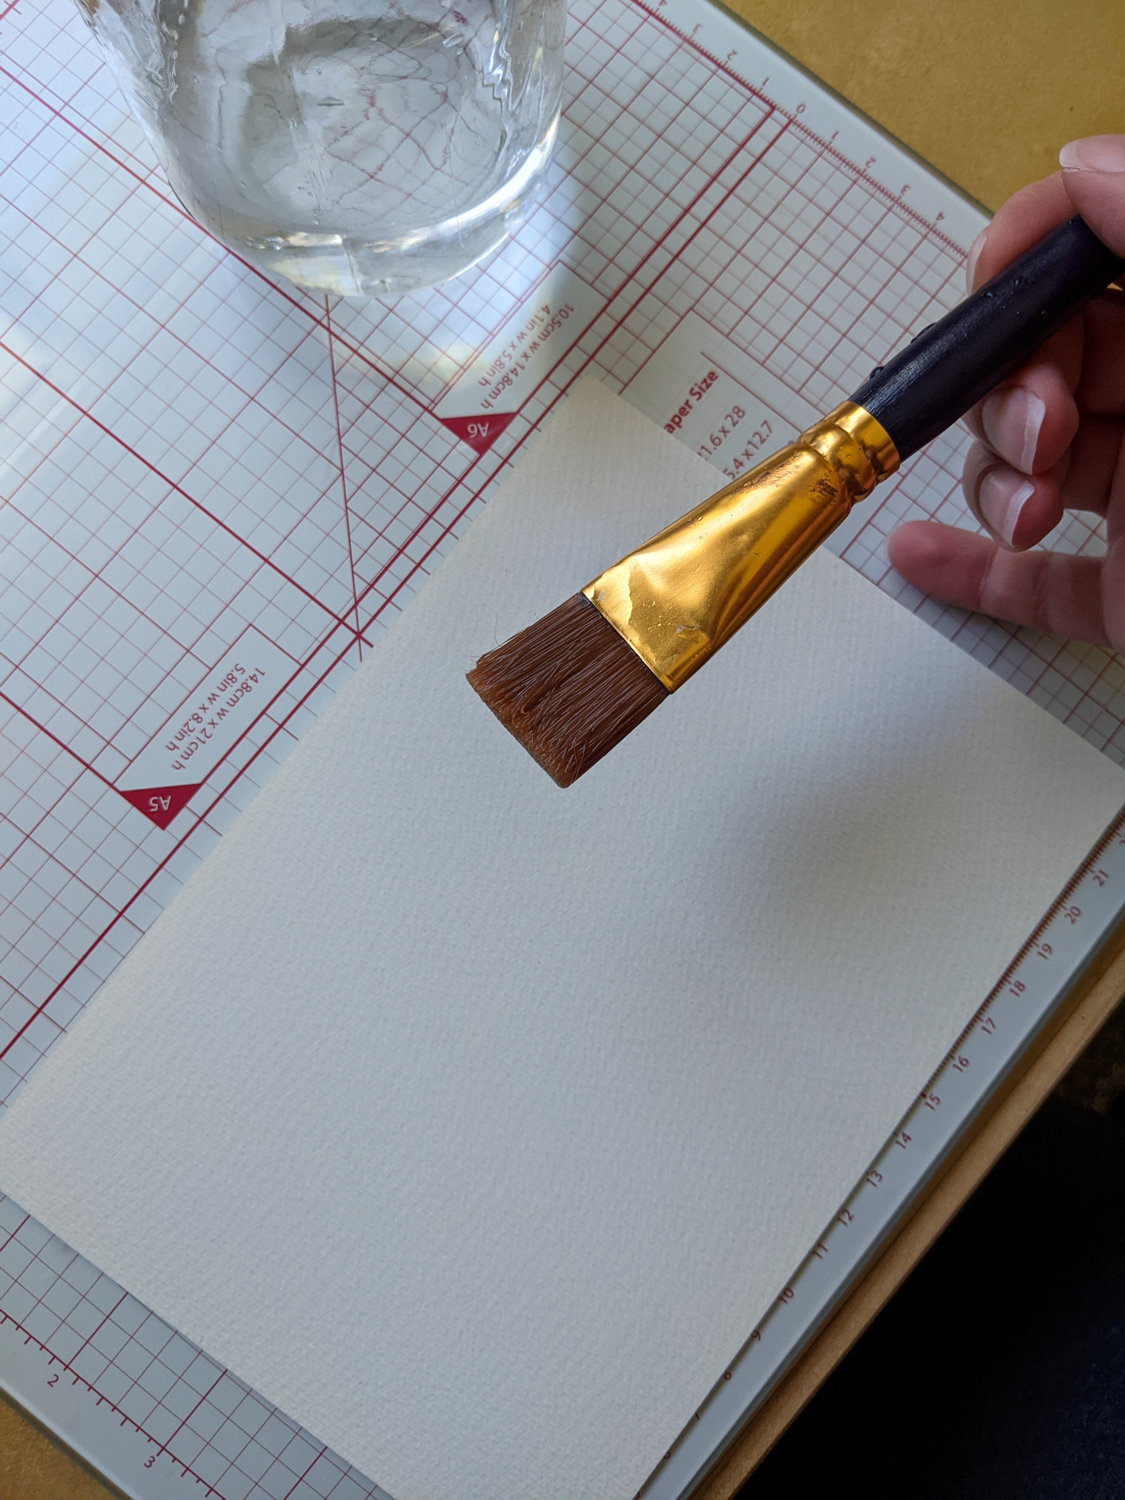
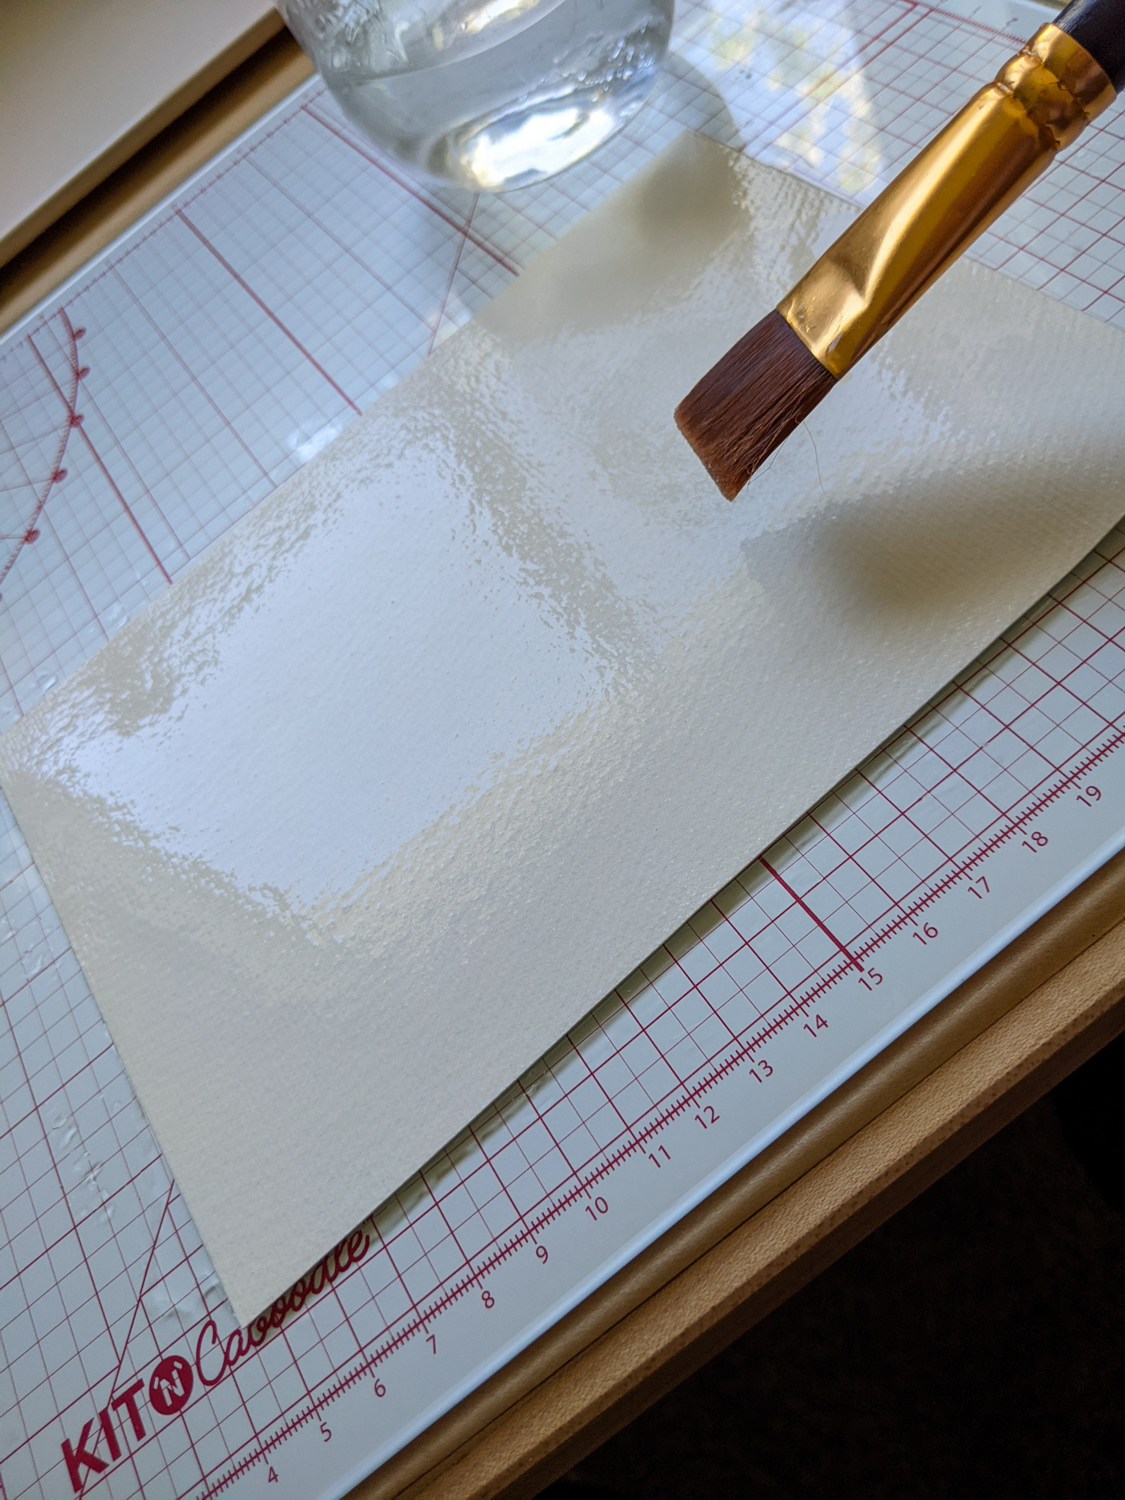
When wetting the page with a paintbrush or spray bottle, it’s important to wet both sides of the page. I like to start with the back of the page first, then flip it over and wet the front part on the surface onto which I’ll secure the page in the next step. I do it this way so I don’t have to handle the paper too much while it’s wet.

Step Two – Secure the Paper
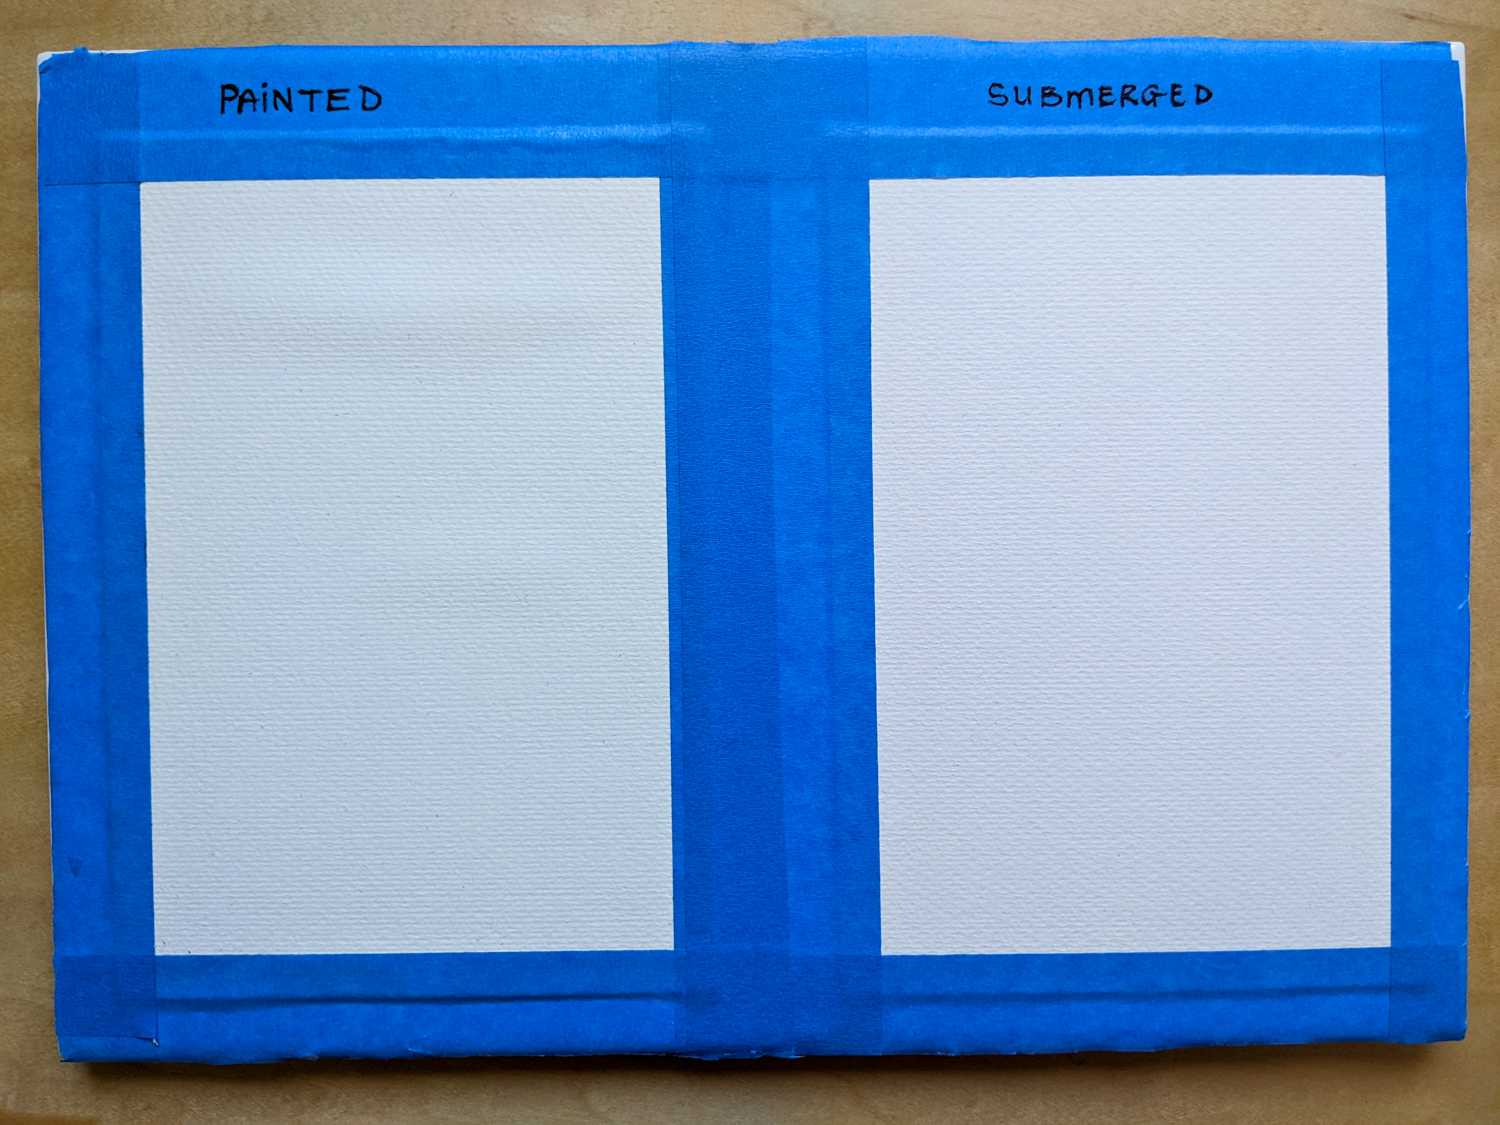
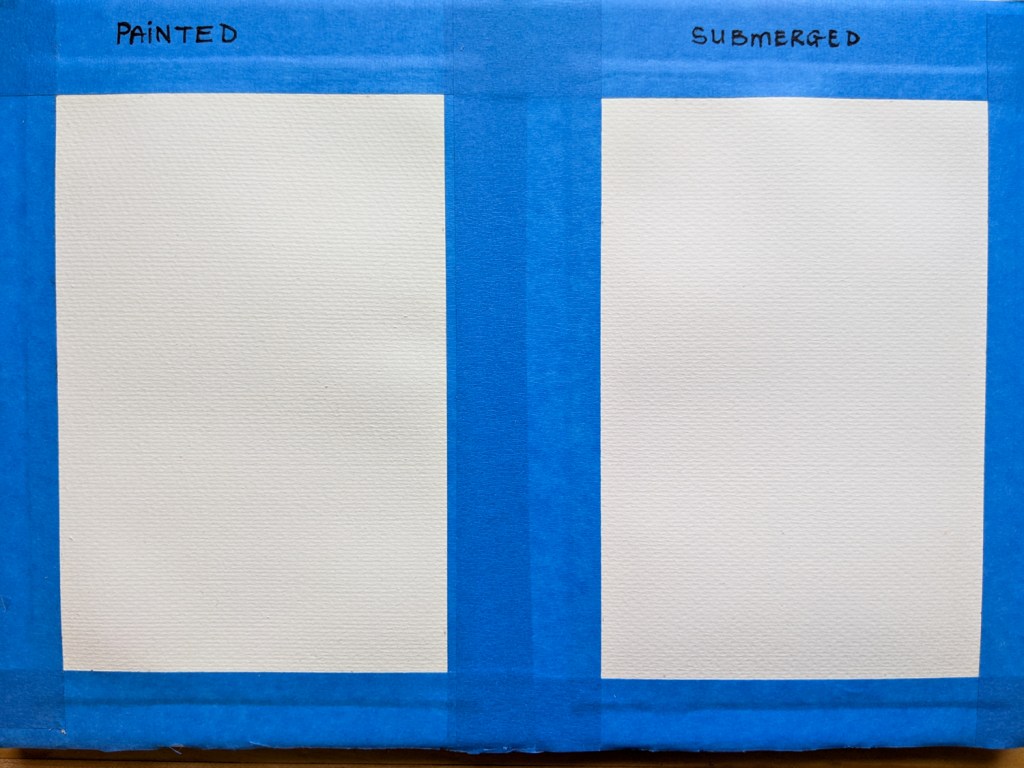
Stick the wet paper face-up onto a smooth surface. A piece of hardboard, tray, craft mat, plastic table—whatever works for you. I used a ceramic tile.
Since this was the first time I tried two stretching methods simultaneously, I marked the pages to compare them once dry.

Step Three – Let it Dry
I left the pages overnight, but you should be able to paint in about two hours.
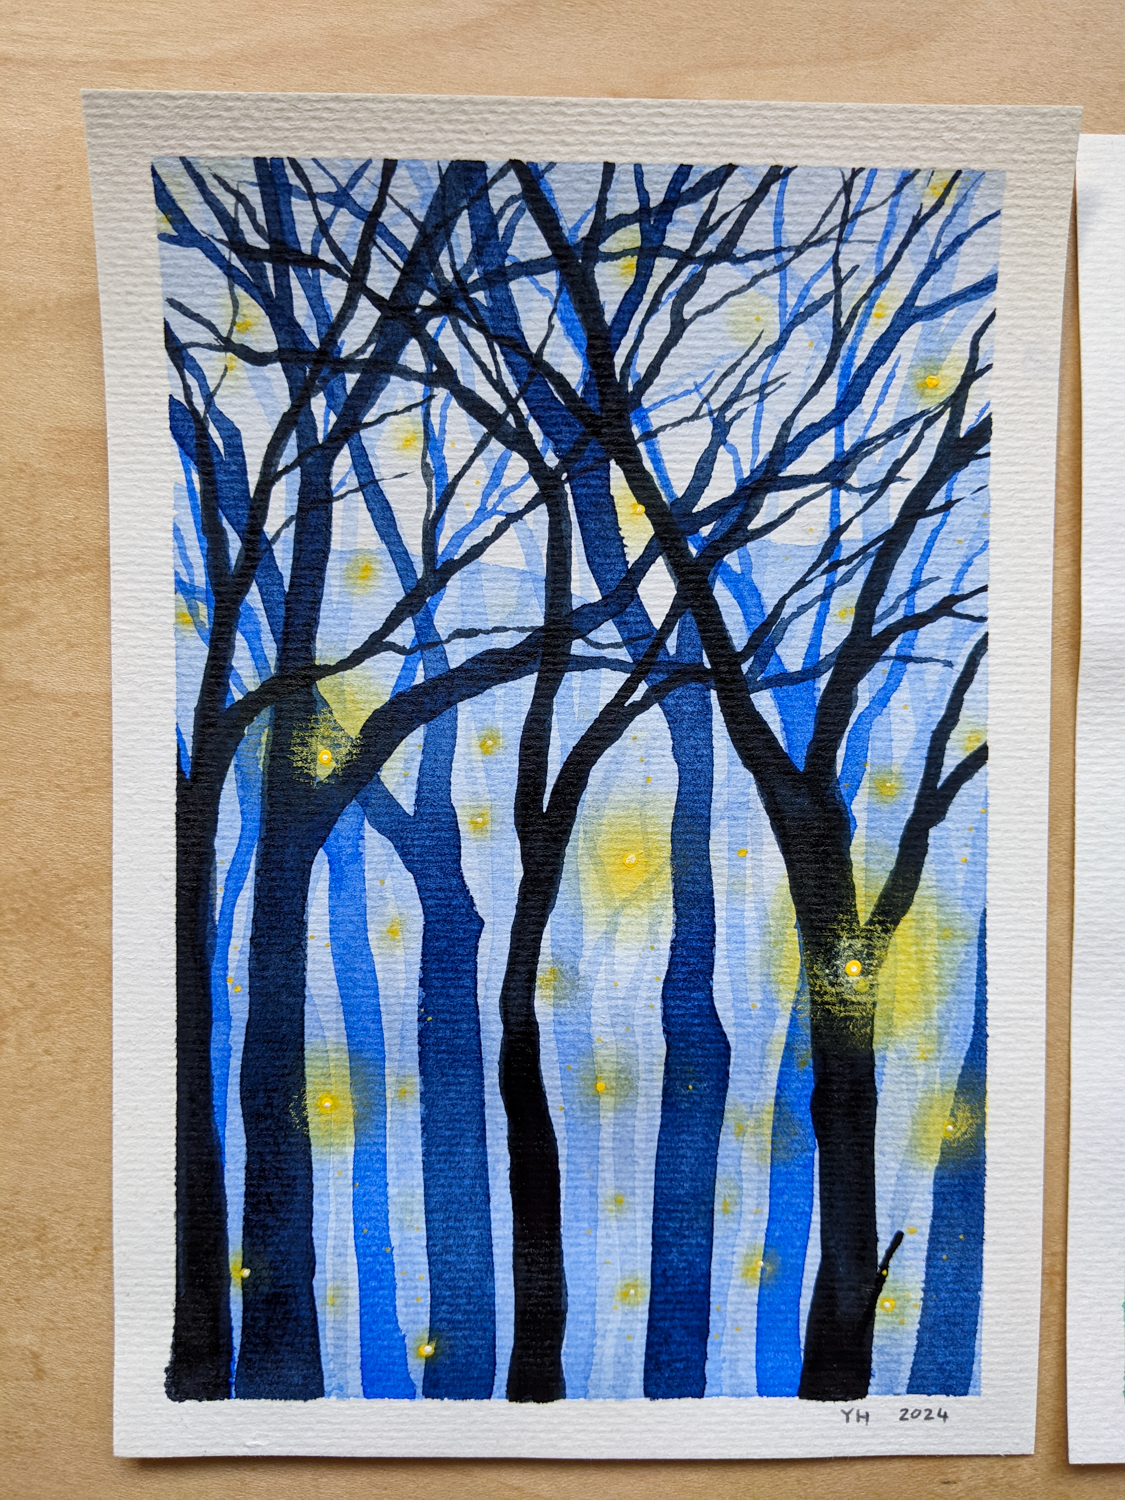
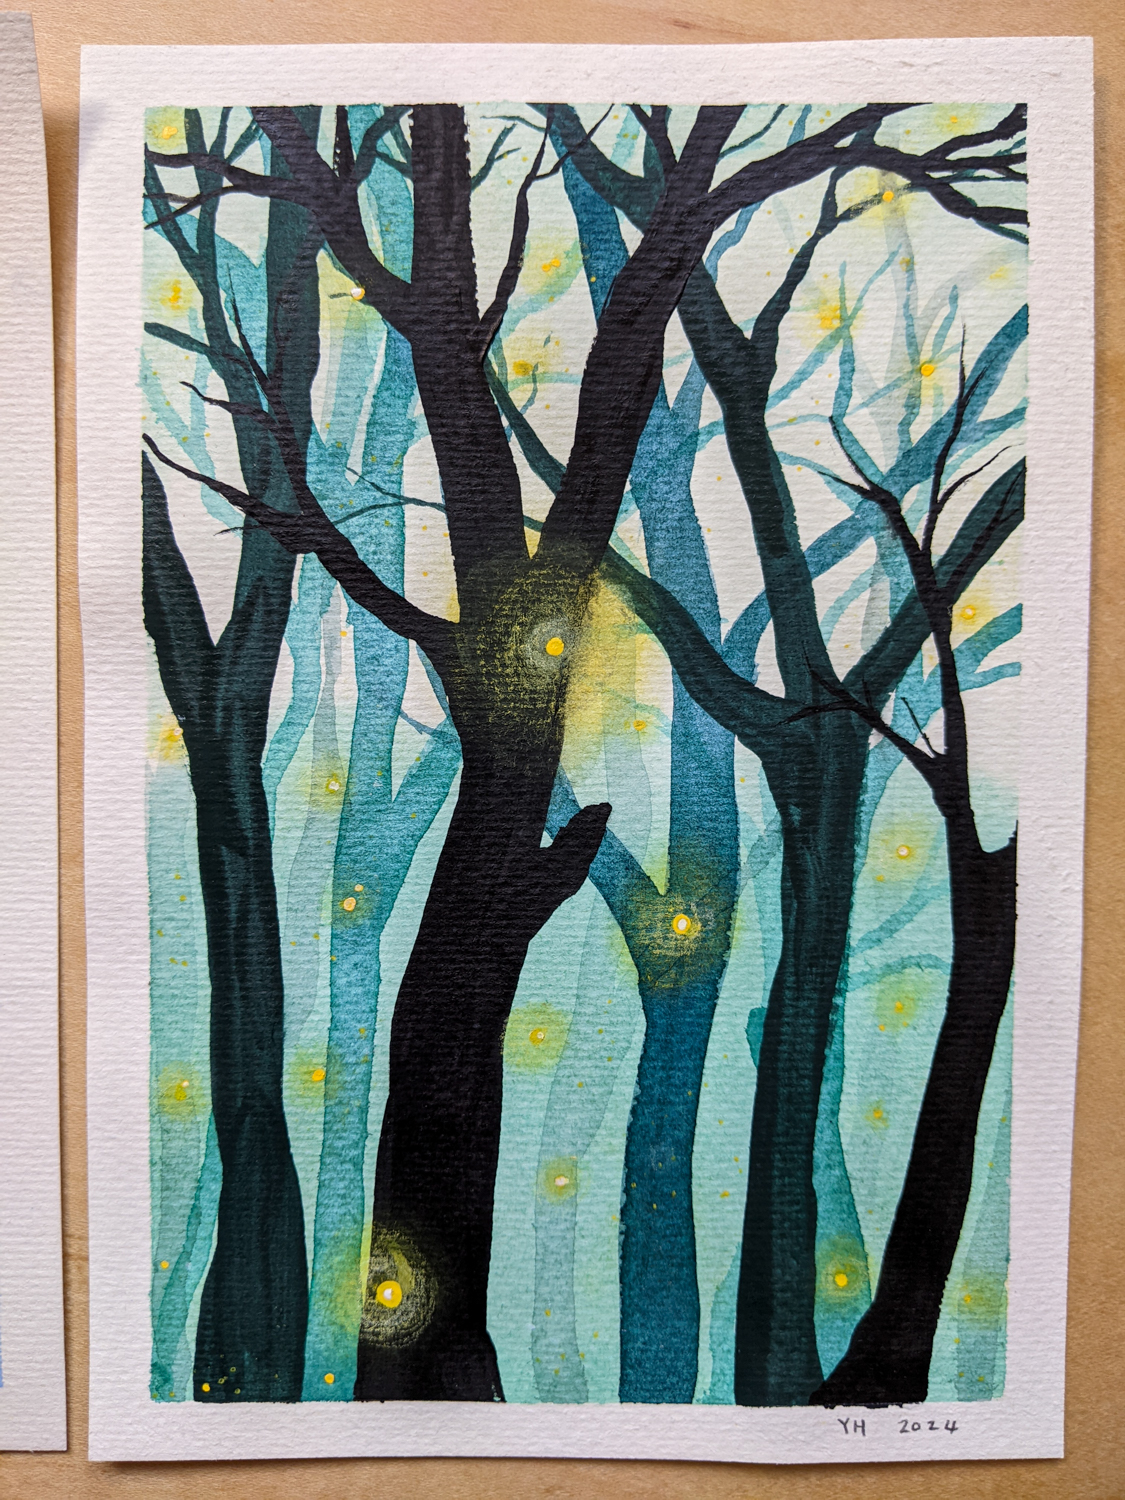
Step Four – Paint
I painted these simple forest scenes using watercolours and gouache, then added details with chalk pastels, watercolour pencils, and paint pens.
I’ve always preferred to wet paper with a brush, but after this little experiment, I might be a submersion convert for life. The page is much straighter than its counterpart!

How do you stretch your paper? Let’s chat in the comments.
Until next time.
Yolandie


Let’s Chat!