I’m so excited to continue this little miniseries with you today! We’re going to talk about the additional tools you could use in polymer clay craft.
Some of these are things you probably already own, but others are inexpensive purchases that will streamline the creative process. And though I included some of these items with polymer clay jewellery in mind, most are applicable to other clay art avenues.
If you’d like to check out Part 1, Crafting with Polymer Clay – Everything You Need to Start, go on ahead and click that link. Otherwise, grab a cuppa, and we’ll get to it! ☕
As usual, this disclaimer. I don’t receive compensation for mentioning any brand, store, or product. These are all items I use daily, either purchased with my own money or were gifts from my birthday/Christmas wish lists.
Work Surface
I didn’t include this one in the necessities post because any flat surface is fine. That said, a dedicated work surface for polymer clay is great. For one, it’s moveable if you need to clean up in a hurry. 😂
But it’s helpful if your clay slab sticks to a surface while you work. When the clay sticks, it is much less likely to warp or lose its shape, and we won’t struggle to remove it from the cutter.
Many polymer clay artists work on ceramic tiles or glass surfaces, as I mentioned in Part 1. Clay naturally clings to smooth surfaces and we can easily lift the finished item with a flat blade. Additionally, ceramic and (some) glass surfaces are oven safe, so we can use the same surface for crafting and baking.
But the most attractive aspect of working on ceramic or glass is how easily they clean. There is no texture or scratches in which the clay can become stuck. If you’re unable to use a glass or ceramic surface, I’d strongly suggest choosing a smooth space. If all else fails, a sheet of printer paper is a great option.
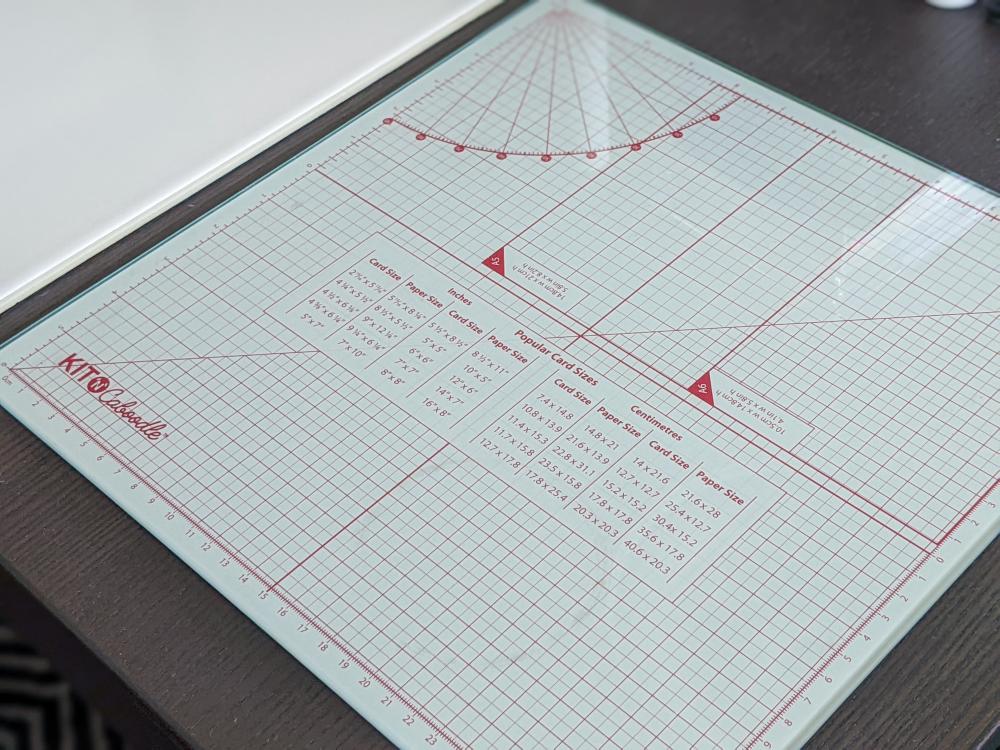
I use two work surfaces.
One is a glass cutting board with measurements. I found it at the dollar store and paid under $4. I love a bargain! Especially when the product can be used for multiple projects, like this one. The ruled edge guides my cuts and mark even distances when I punch holes.
The other is a smooth ceramic tile, slightly larger than a sheet of letter-sized paper. My husband bought it at our local hardware store for about $3. This tile is oven safe, so I also use it when baking clay items.

Clay Rolling Machine
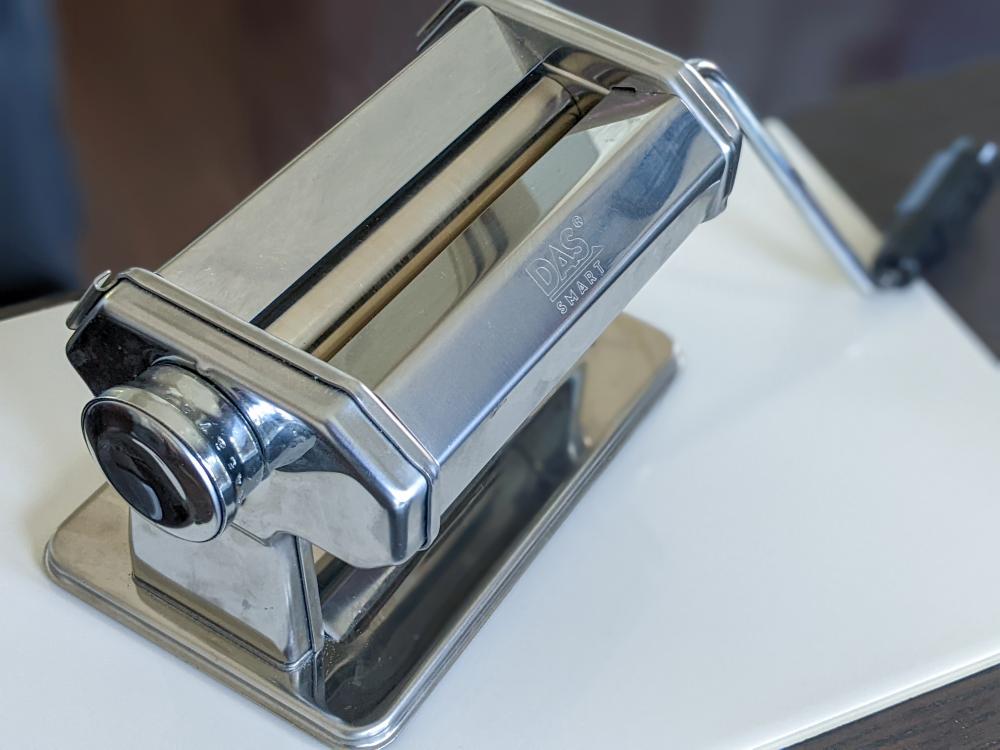
If you’re considering taking up clay craft, investing in a clay rolling machine is a must.
Of all the tools I have at my disposal, this one saves the most time. A rolling machine will save your wrists in the conditioning process, remove the appearance of air bubbles in the surface of the clay, and flatten the clay to your desired thickness.
I received a Das rolling machine as part of a clay starter package from my friend Liani. This clay rolling machine from Craft Smart is similar and retails for $40.
Detailing Tools
Dotting Tools
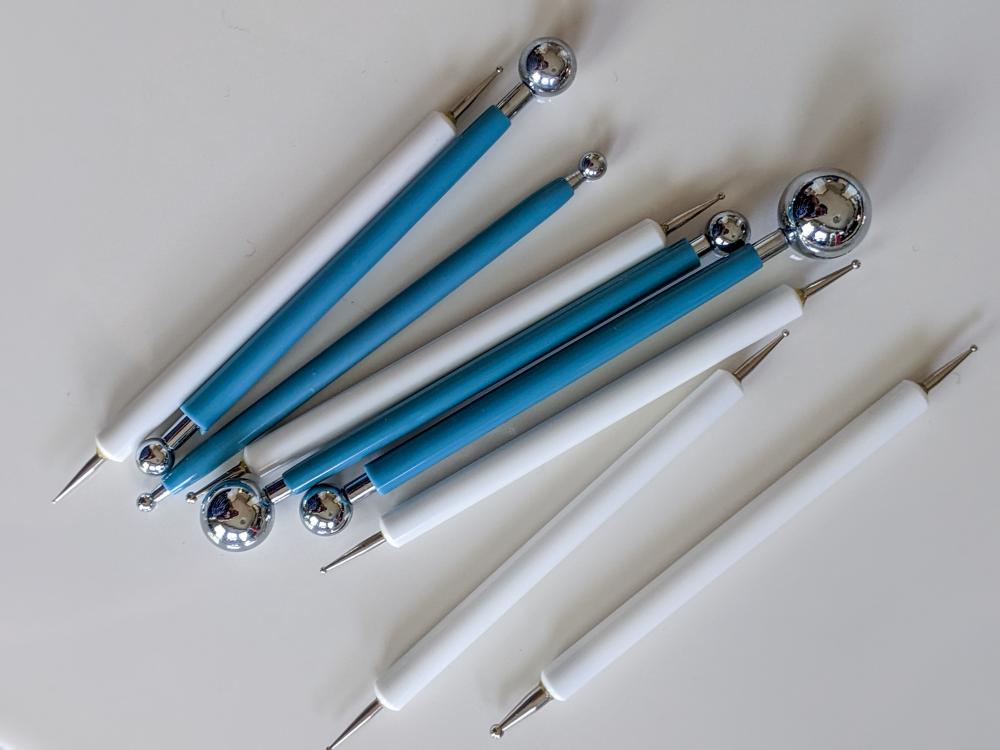
Dotting tools are super versatile and come in a great range of sizes, from tiny pinpoints to large domes. They allow us to stamp and texture the clay, paint patterns, and form petals. They are also great for picking up and placing small items.
And because so many art avenues use dotting tools, a small set won’t cost an arm and a leg!
I got the white set from Amazon for $10, and they work perfectly for clay art.
I purchased a clay extruder in May (more on that in the next segment) and received the blue set as part of that bundle. However, this set offers similar sizes.
You probably also have great dotting items around the house! Hair pins, sewing tools, and toothpicks, among others. I use these simple houshold items in all my clay crafts.


Embossing Tools
Looking to add patterns or texture to your clay crafts? There is a wide range of products available! Sheets, rollers, stamps, and so much more.
I find texture rollers the easiest to use—just lay down your slab and keep even pressure while rolling.
Embossing plates and sheets can be trickier, depending on the material. For example, silicone texture sheets are similar to texture rollers. Lay down the slab, place the sheet with the pattern facing the clay, and keep even pressure while you move your roller over the sheet. But rigid embossing plates, like the wooden one in the pictures below, require much firmer pressure to emboss the clay. I often find my roller isn’t enough, and I have to press down with the heel of my hand to transfer the pattern.
Quick Hack:
Dust a thin layer of cornstarch onto the clay before using a texturing tool. This will keep the clay from sticking and create a sharp imprint. (See leftover cornstarch in the wooden texture plate below 😅)


Some of my favourite texturing tools are items found around the house. For example, my grandfather was an artist who liked to cut and shape his own paintbrushes. I inherited many of his old art supplies, and one of his custom-cut brushes is a fabulous texturing tool!
Clay Extruder
A nifty little tool that makes clay snakes. Which doesn’t sound like much, but evenly rolled wormies have endless uses! Make perfect vines for florals, braids and chain patterns, abstract designs, arches, hoops, and more.
Culinary artists use identical tools in the kitchen, but it is important to remember that polymer clay is not food safe and isn’t compatible tools or surfaces intended for food. However, if you have a retired fondant extruder at home, you could recycle it for clay crafts.
I purchased this clay extruder set from Amazon and am super impressed with the quality of the product for the price.


Organisation
You’d think clay and its accessories are small and unobtrusive, but you’d be wrong. 🤣 They multiply and slowly conquer your home. So, to keep the chaos to a minimum, I’ve invested in various storage supplies.
I store clay bars and scraps, earring fastenings, and small embellishments in plastic drawer sets from the dollar store. I purchased mine for $2.50 and $4.
Large tools, like my clay roller machine, extruder, UV lamp and resin, go into big storage baskets. These are also dollar store finds and were $4 each. They’re super versatile, but I’d like to change their colour at some point!
I use a Stanley Sortmaster 15-compartment organiser for my cutters and other bits and bobs. I love the customisable compartments and mobility this organiser allows. It holds a fair amount and doesn’t take up much space when stored.


Finishing Tools
Sanding
Not all polymer clay art might require sanding, but since earrings are in close contact with skin, it’s better to remove sharp edges.
I use 320-grit sandpaper, but other artists might prefer higher grit. This comes down to personal preference. Sandpaper sheets retail anywhere from $4 plus, and a sheet lasts me for roughly 500 earrings.
Of course, as my business grows, I’ll likely switch to our Dremel tool for this step.
Beware of High Velocity
Because rotary tools move faster than a human hand, many clay artists recommend using a wool polishing bit instead of sanding bits for greater control.
After sanding, I wash the clay bits in soapy, lukewarm water. This removes dust and residual oil from my skin and prepares the surface for the next step.
Varnish/Resin
I don’t use varnish or resin on all of my products. Some are gorgeous in their natural clay state. But when I’ve applied acrylic paint, glitter, or other embellishments, the product must be sealed for longevity.
- Varnish
A soft-bristled paintbrush works best. I never use brushes I’m precious about when applying varnish because you never know how the product will react with the bristles. Inexpensive synthetic brushes are perfect for this step. I use one of the Artist’s Loft Fundamentals paintbrushes from this set.
As for the varnish, I use Sculpey Satin Glaze sometimes, but I prefer the high shine and durability of UV resin.
- UV resin
As I mentioned in the Let’s Make – Resin Leaf Charms post, I use Sanaaa resin. I have a tiny UV lamp that seems to have been discontinued as I can’t find a link to it anywhere. But Blue Moon Studios sells a USB UV lamp at Michaels for $20.
The UV lamp I own came with two silicone stirring tools, which might be some of the most used tools in my kit. The pointy one is fantastic for picking up and placing small embellishments! But both these tools are a great help when I need to spread resin into all the nooks and crannies of my products.
If you don’t have a silicone stirring tool, toothpicks, skewers, or pins will do the job. And if all else fails, unbend a paperclip!
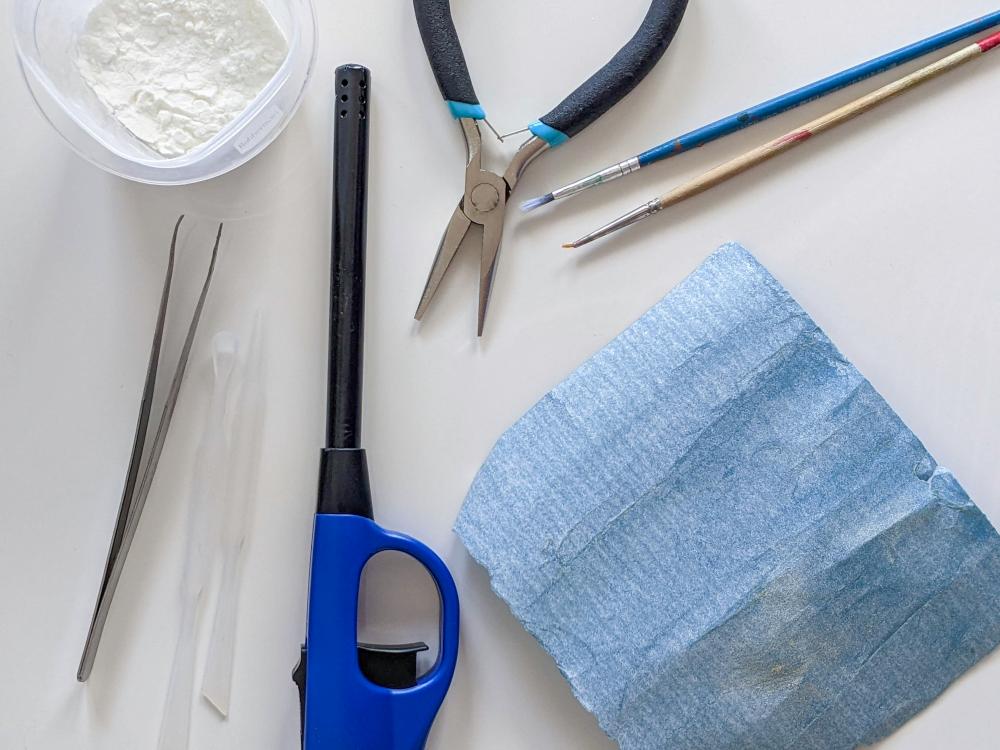
Finally, you’ll need a lighter, heat gun, or blow torch to remove bubbles from the resin.
Optional extra: tweezers. Since uncured resin can cause an allergic reaction, gloves are recommended. However, I’m not a fan of the feeling of latex gloves (hello, sensory issues), so I find it easier to hold products steady with tweezers.
Attaching Earring Fastenings
For extra durability, I use a drop of resin to attach fastenings.
Assembling
Jewellery makers need some trusty pliers.
I purchased a great trio of pliers from Amazon, including a wire cutter, round-nosed, and needle-nosed pliers. These pliers are the perfect fit in my hands, have a soft grip, and do exactly what they’re supposed to. As a final bonus, the needle-nosed pliers have a flat interior and don’t leave crimping patterns on jump rings.


Can you recommend some awesome polymer clay art tools? I’d love to learn more! Let’s meet in the comments.
Thanks for reading, friends. Until next time,
Yolandie


Let’s Chat!