
It’s Thursday, which has become synonymous with throwbacks.
Today we’re doing something new. I’ve been itching to try making a timelapse of an art process for you, and I figured I’d combine that with a tutorial.
I made the original artwork during Inktober 2018, and since I struggled so much to wrap my head around this more graphic drawing style, I thought you might be interested to see the process.
This is the original.
//www.instagram.com/embed.js
I heavily relied on the original as reference for this tutorial.
This drawing style is such a relaxing way to pass the time. It’s also one of the easiest ways to get into art or ballpoint art for the first time, so if you’re new to this stuff, grab a pen and begin. It’s super welcoming to beginners.
This drawing took 30 mins to make. I used a Bic ballpoint pen (not sponsored) and drew on 300g/m2 watercolour paper.


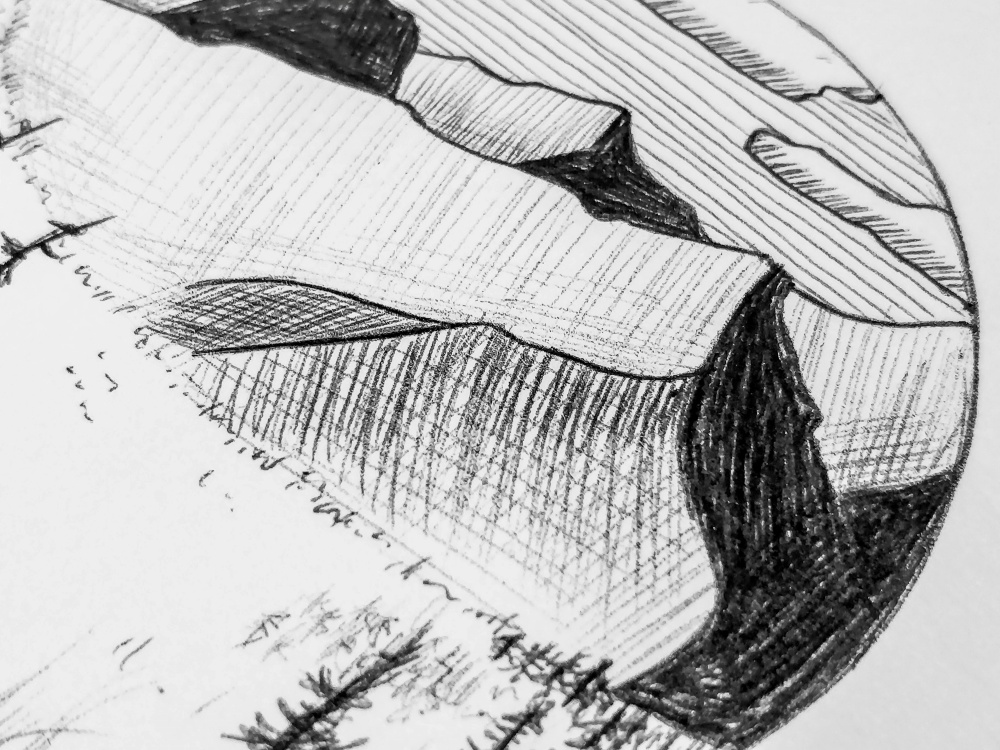
The most important thing is to cross hatch following the slope of the outline. If a line is going downwards diagonally, like the line that divides the sunny and shady sides of the mountain, the main hatch should be in the same direction. Then you add shadows by following the outline of the sunny side of the mountain, a direction that will cross the hatch lines to make little squares.
Have you tried something new lately? Please share!
Yolandie


Let’s Chat!