
A friend asked me about the software and resources I use to edit photos for the blog and Instagram and create the header images for blog posts. Since I have so many friends and family members getting into blogging, I figured this could be a helpful post.
The best news is you don’t have to have a design background. I do, but have forgotten all of the principles of design over the years. You can easily learn the basics of design if you want to, but more important would be to develop your eye for what looks good. The more you practice flat lays or photography, the better you’ll become at it. Am I a master? No friend, not by a long shot, but I’ve learned what I like in a photo and I have fun while taking them, and I reckon that’s all that matters.
Just a disclaimer before we start. This post is in no way sponsored by any app/software mentioned. I really wish it was, but alas. Every app/software mentioned is something I’ve been using for a while and honestly love.
Photos
The internet has loads of free stock images if you know where to look, but though I do use the odd stock image, I prefer to use images that belong to me. I take all the photos I use on the blog or Instagram with my smartphone. We own a DSLR camera, but this is 2019. We don’t always have the camera on us, but do always have our phones.
For the Instagram stuff, I prefer flat lays. A flat lay is when you put a bunch of stuff on a flat surface and take the photo from above. Like this:
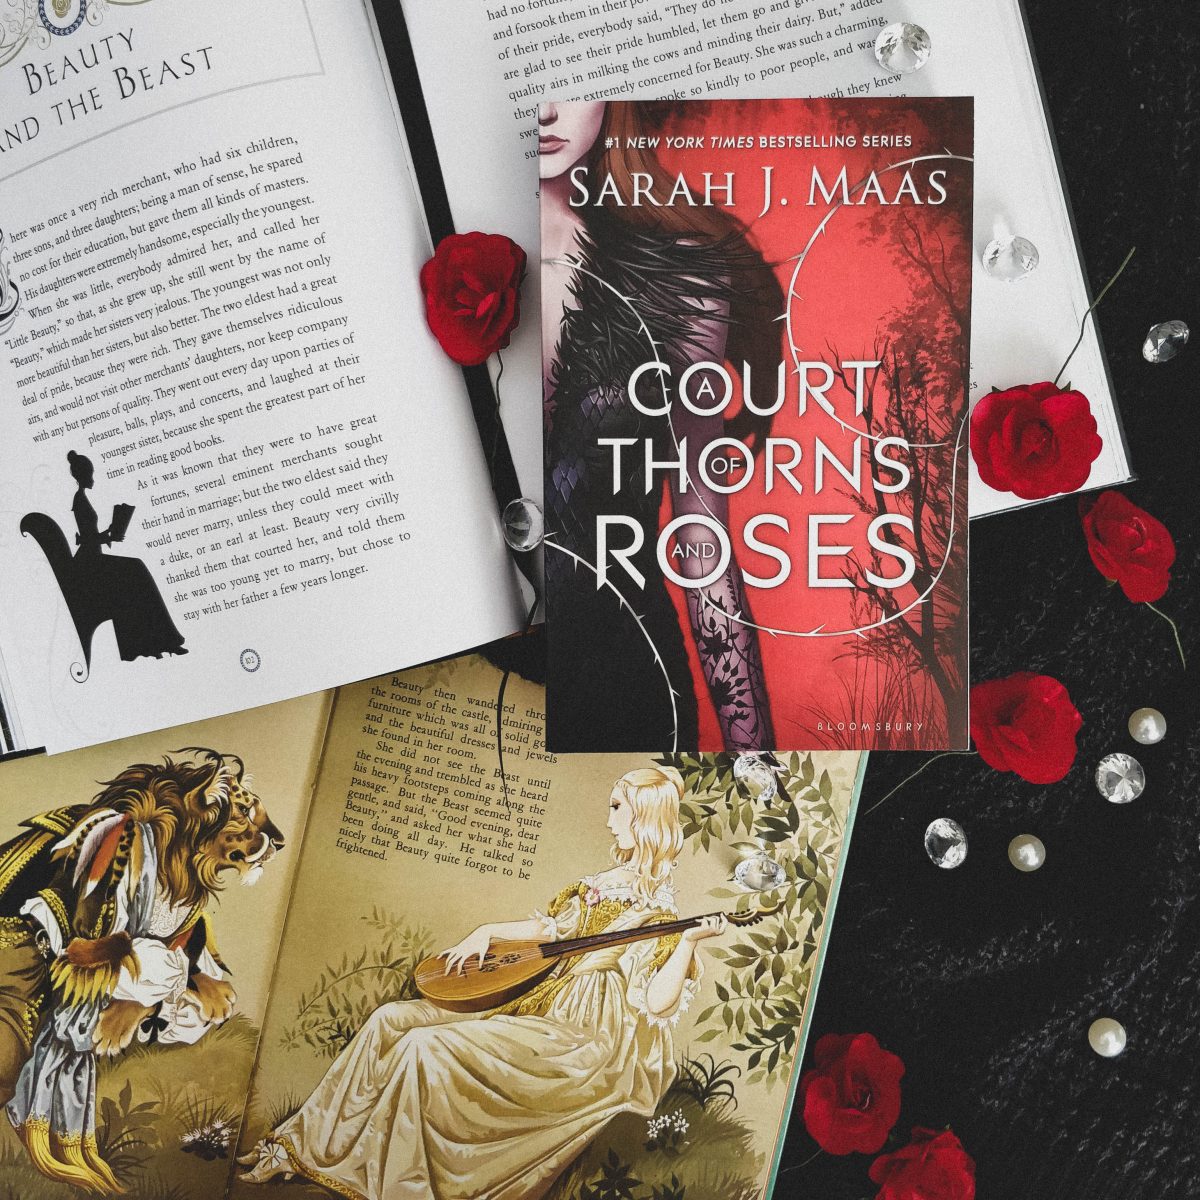
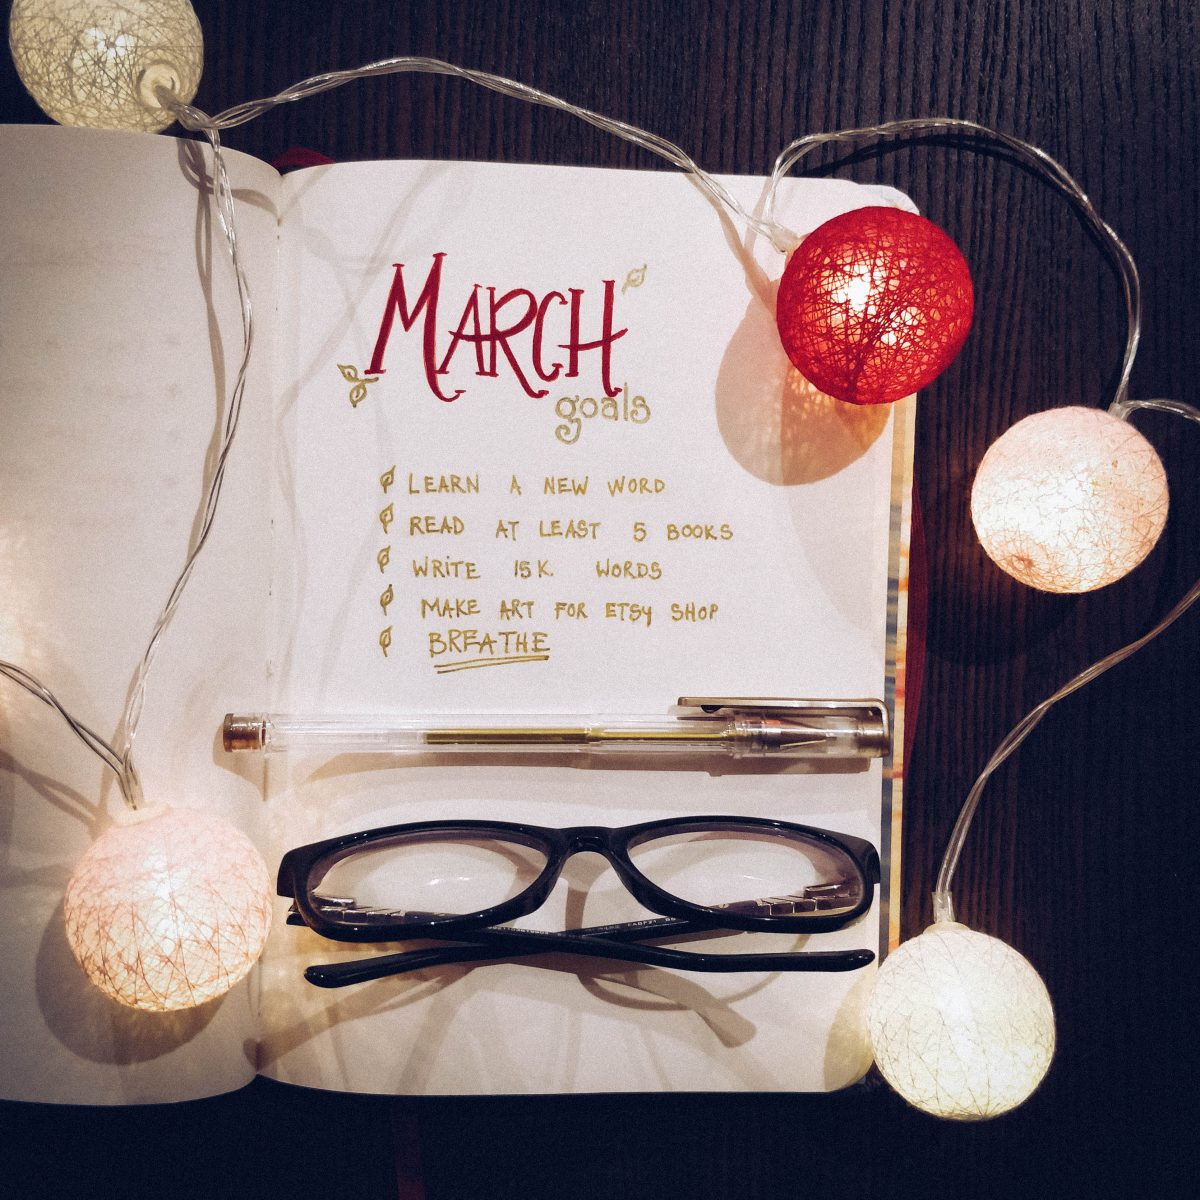
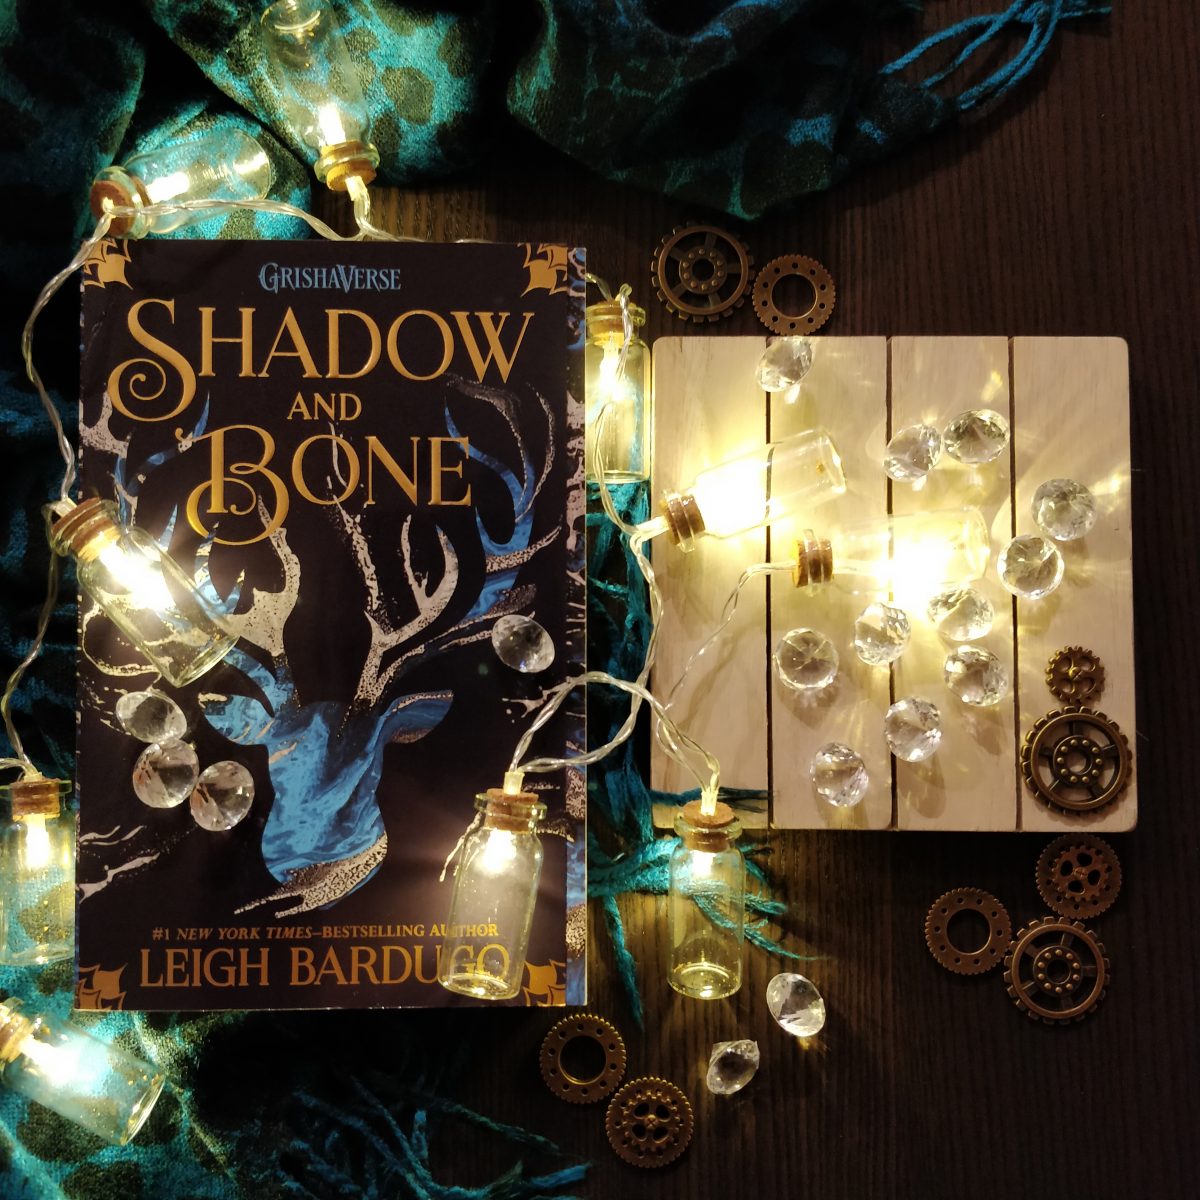
I have a box full of random props and craft supplies, most of it collected over the years or bought on the cheap from Dollarama or Walmart. The good thing is that anything you buy to feature in a photo will be reusable, except if you’re using food or coffee. 😛 But all of the lights and backgrounds, and some of the books have been reused in a few of my photos.
Flat lays aren’t the only way to go! You could take photos of stacks of things, shots with interesting perspective, whatever. Do you.
Photography for the Blog
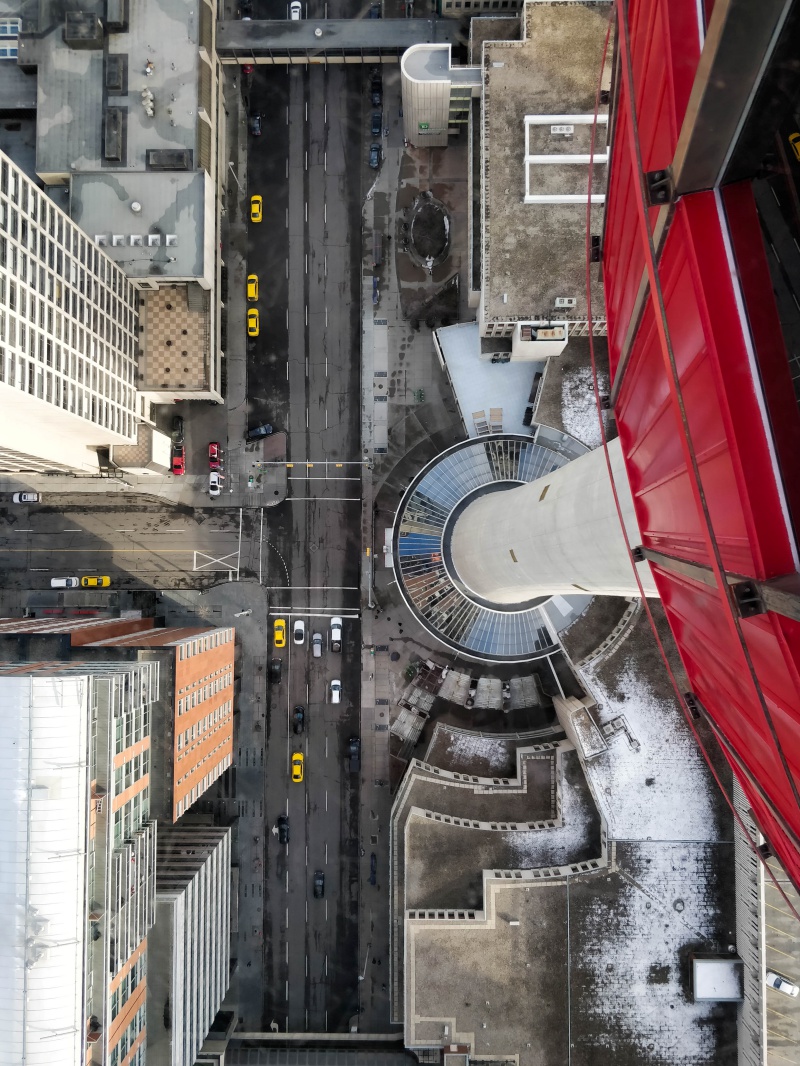
As for sightseeing or lifestyle photography, you’ll have to play around. What I’ve found works well is when you have a few different kinds of shots in one blog post. Play with textures, use nature to frame shots, zoom in, experiment.
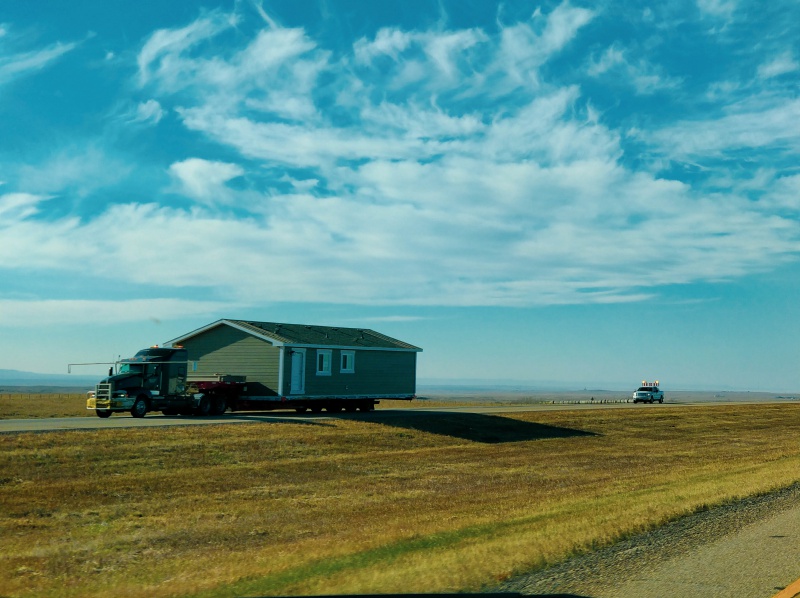
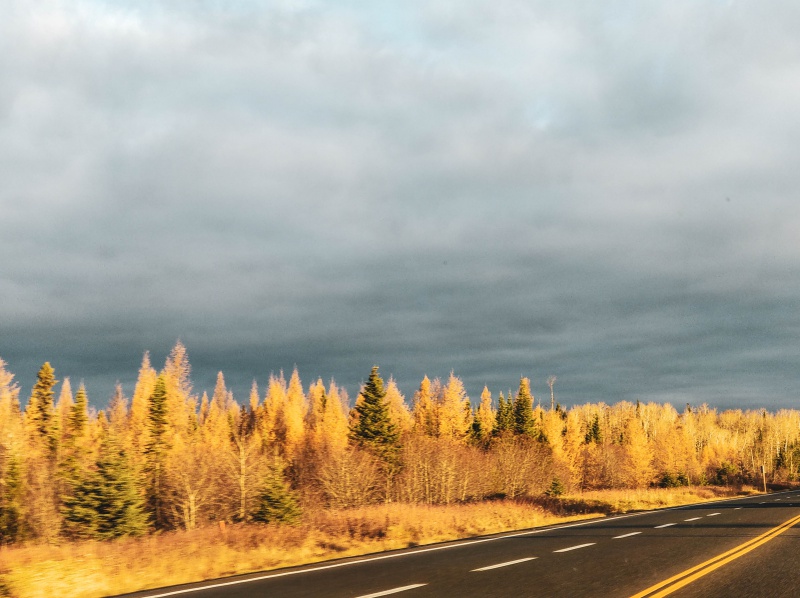
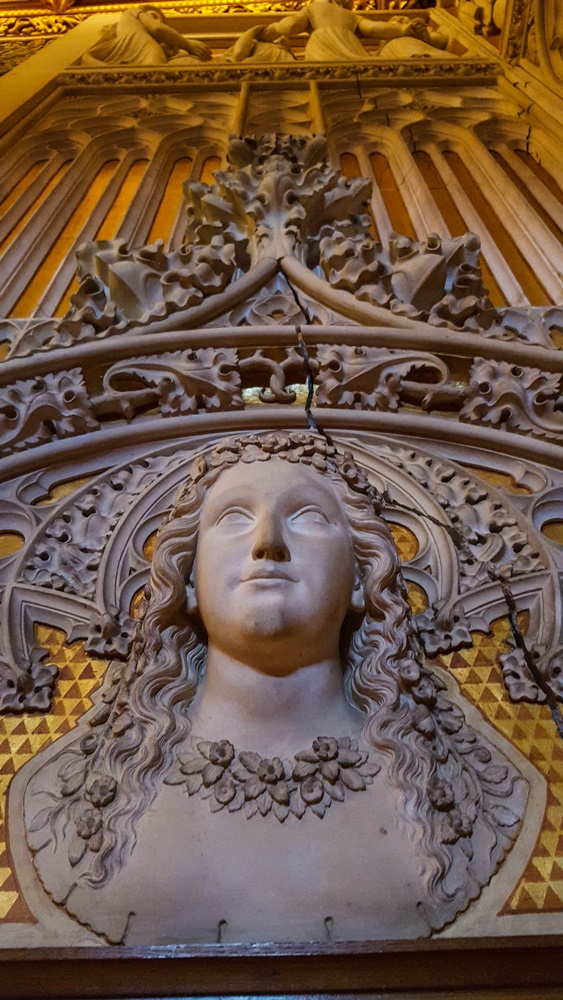
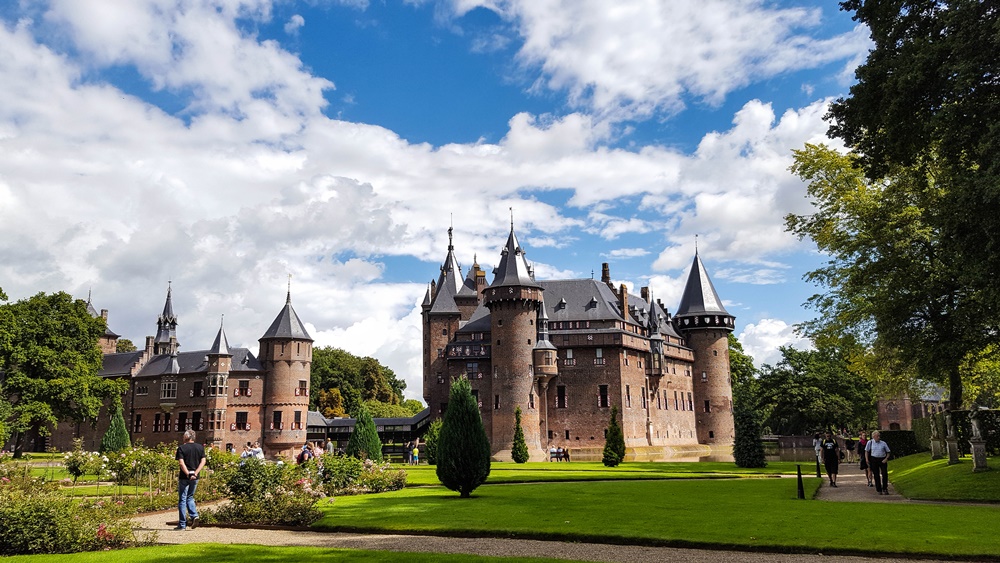
When I upload Photo Diary posts, I always try to include shots that show the scale or beauty of the place we’re visiting, include shots of our smiling faces for the family who view the posts, interesting things I see on the way, or things that have meaning to me. For example, extreme close-ups of snow, cool suits of armour, paintings I adore, gorgeous views.
Like these:


Editing
As an amateur blogger, I uploaded my photos without editing them. That’s probably fine too, but I’ve since learned that straightening the horizon or white balancing goes a long way.
Many photo editing apps exist for the phone, but I prefer to edit on my computer. I personally use Adobe Lightroom. Unfortunately, it isn’t free. Almost all Adobe products come with a subscription fee these days.
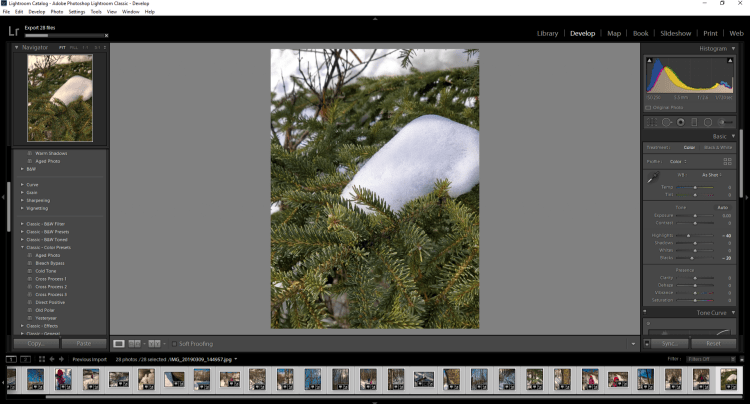
But it’s really effective software. With the click of a button you can apply a preset (filter) that will alter the photo’s look and feel. You can also easily crop, straighten, brighten, remove or blur imperfections (the blur function works really well for licence plates or faces of tourists, for example) and do an array of other things to enhance a photo.
I’ve bought a bunch of Lightroom presets in the last few years, but the good news is you can get presets for free if you look around a bit. Creative Market is a wonderful place to gain assets, and they have the occasional free Lightroom preset available for download. If you create a free profile, they send you links to download free design assets and fonts every week. Highly recommended.
Design
To make the featured images for the blog, I use either Photoshop or Canva. These days, I use Canva much more than Photoshop, because Canva is so easy to navigate. It’s also free to use.
The great thing about Canva is how beginner friendly it is. Plus, it offers loads of free or pay-to-gain stock images, free design layouts, and a variety of template sizes aimed at different social media, presentations, desktop images, and more. If I’ve used free stock images or graphics, I probably found them in Canva’s library.
The featured banner for this post is one of the free templates available in Canva. I prefer to create my own designs, but I thought showing you a free design would work well for the purpose of this post.
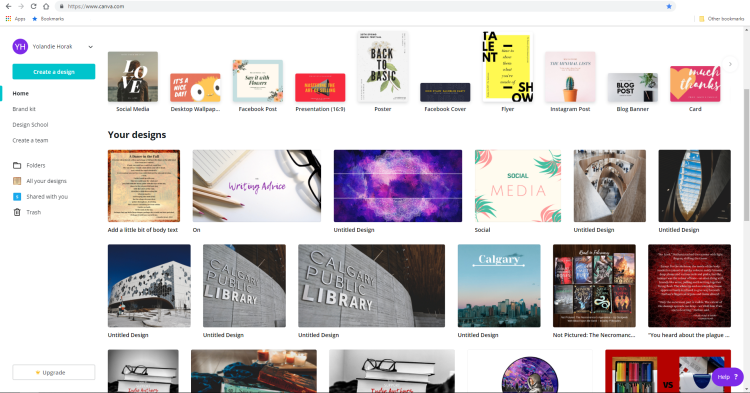
The fact that they offer so many templates means noob designers learn things they can use or do to create effective designs without realising it. The eye picks up what works just by scrolling through their recommended templates and images. I’ve often been inspired by something I stumbled across on Canva. I also love that I can make a banner for the blog and create stuff for Instagram on one website.
Schedule
Now, I don’t always have time to take photos for the blog or Instagram every day. Hell, I don’t always have time to blog every day as a mother and an author and an artist and and and. So here’s the simple truth and a trick that helps me write curated, in-depth blog posts–I write in advance and schedule.
WordPress offers a scheduling function, and it’s been an absolute lifesaver. I try to write blog posts, edit photos, and create banners on Fridays (or whatever day has the least life-stuff in the calendar) then schedule them to go live on the day and time of my choosing.
And guess what–you can do this with your Instagram and other social media posts too. I’ve been using Later, an app that my genius friend Rita recommended.
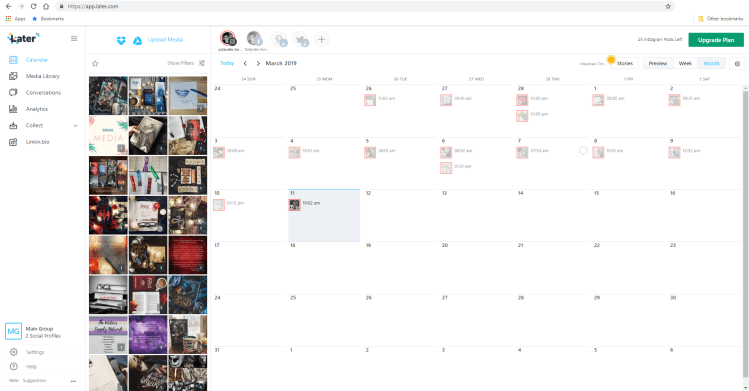
You get 30 posts to schedule per social media site per month, which is more than enough for me ATM. Of course, you may need the paid option which allows you to schedule more than 30 posts a month if you’re using Instagram to promote and sell products.
Just like with the blog posts, I tend to take an afternoon and take a bunch of photographs in advance, edit them all, and schedule them all. It really helps to take your photos on days when you’re inspired, when the light works well, or when you have the energy to get things done. It also means more to the consumer, because you’re offering higher quality work than when you’re not in the mood but doing it because you have to.
In my experience, the one drawback of using the free Later profile is that you can’t schedule posts containing multiple photos. For those kinds of posts, I still have to upload manually. The upside of this is I get to schedule more single-image posts on Later. 🙂
The wonderful thing about scheduling is that you remain active on social media, even when you’re unable to be active for whatever reason. I was sick a few weeks ago, but my blog and Instagram went on as scheduled, even when I was in bed.
And that’s my entire secret. Three apps to rule them all.
What software or app do you use to prettify your photos? Please share in the comments.
Yolandie


Let’s Chat!