This isn’t a tutorial as much as a photo-diary of the steps I followed to create this painting. It’s really very simple, so I’m tagging it as beginner.
Honestly, the most difficult part is getting the violin symmetrical! If that’s something you struggle with, you can always try to find a stencil or print out a violin to trace (though I don’t know how well you’ll be able to trace through watercolour paper). If you’re not feeling the violin, I bet this kind of thing will also work well with flowers, skylines or whatever else blows back your hair.
With that, let’s get started!
You’ll need watercolour paper, watercolour pencils, a broad-tipped brush and a fine liner.
Draw the design lightly, then add the colour-swirls. Try to keep some kind of gradient going between your colours, but otherwise, there’s no right or wrong way. I decided on a rainbow of colours. 🙂
Once you’ve plotted where the colours go, it’s time to paint. Generally, I try to rinse my brush after every colour I paint, just so I don’t spread the darker pigments into the lighter ones too much. I want a gradient, but I don’t want the colours to flow together into a murky, unnamed shade.
I blurred the edges and added light splatter here and there by dabbing the tip of the paintbrush. This isn’t a precise science and there’s no need to be neat. Keep going until everything is painted and let it dry.
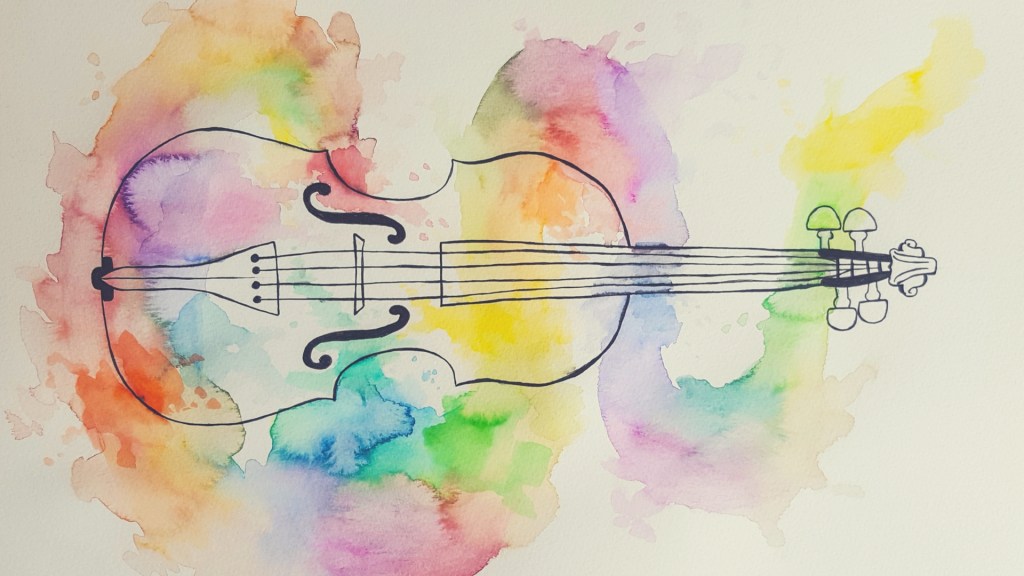
Using the fine liner, I drew on the outlines of the violin. At this stage – the result of bad planning – I decided to add more vibrant colours and bring some of the splatters onto the violin. Ink will bleed when wet. And it did. Yay.
This meant retracing the lines at the end, but I felt happier with the colour placement. It would be a better idea to fix the colours BEFORE adding ink to the painting, but so we learn.


And that’s it! I wish you a fabulous weekend and I hope this inspires you to get creative. 🙂
Yolandie


Let’s Chat!