If you follow trends and tricks in the polymer clay community, you’ve doubtlessly seen a storm of transfer designs. Anything from pretty florals to groovy abstracts—you can print and transfer those designs to your clay masterpieces.
I recently received a commission to make magnets with text included in the design. Initially, I thought I’d handwrite the text, but then I came to my senses. It would be easier to print and transfer the text.
I scoured the internet for tutorials on how to get the ink onto the clay. Most tutorials told me I’d need fancy tools like transfer paper and rubbing alcohol… Okay, fine, not so fancy, but I didn’t want to purchase a stack of transfer paper for just this one commission. #millenialsbebroke 🤣
Luckily I found the answer. All I needed was my good old laserjet printer, a paintbrush, and water.
I kid you not. This has to be the easiest transfer method ever. No hassle, no fuss, nothing fancy.
Unfortunately, this method will only work with a laserjet—inkjet designs won’t transfer with just a dab of water.
Let’s get to it!
What You’ll Need:
- Polymer clay
- Paper
- Water
- A paintbrush (I used a flat, broad brush for faster application)
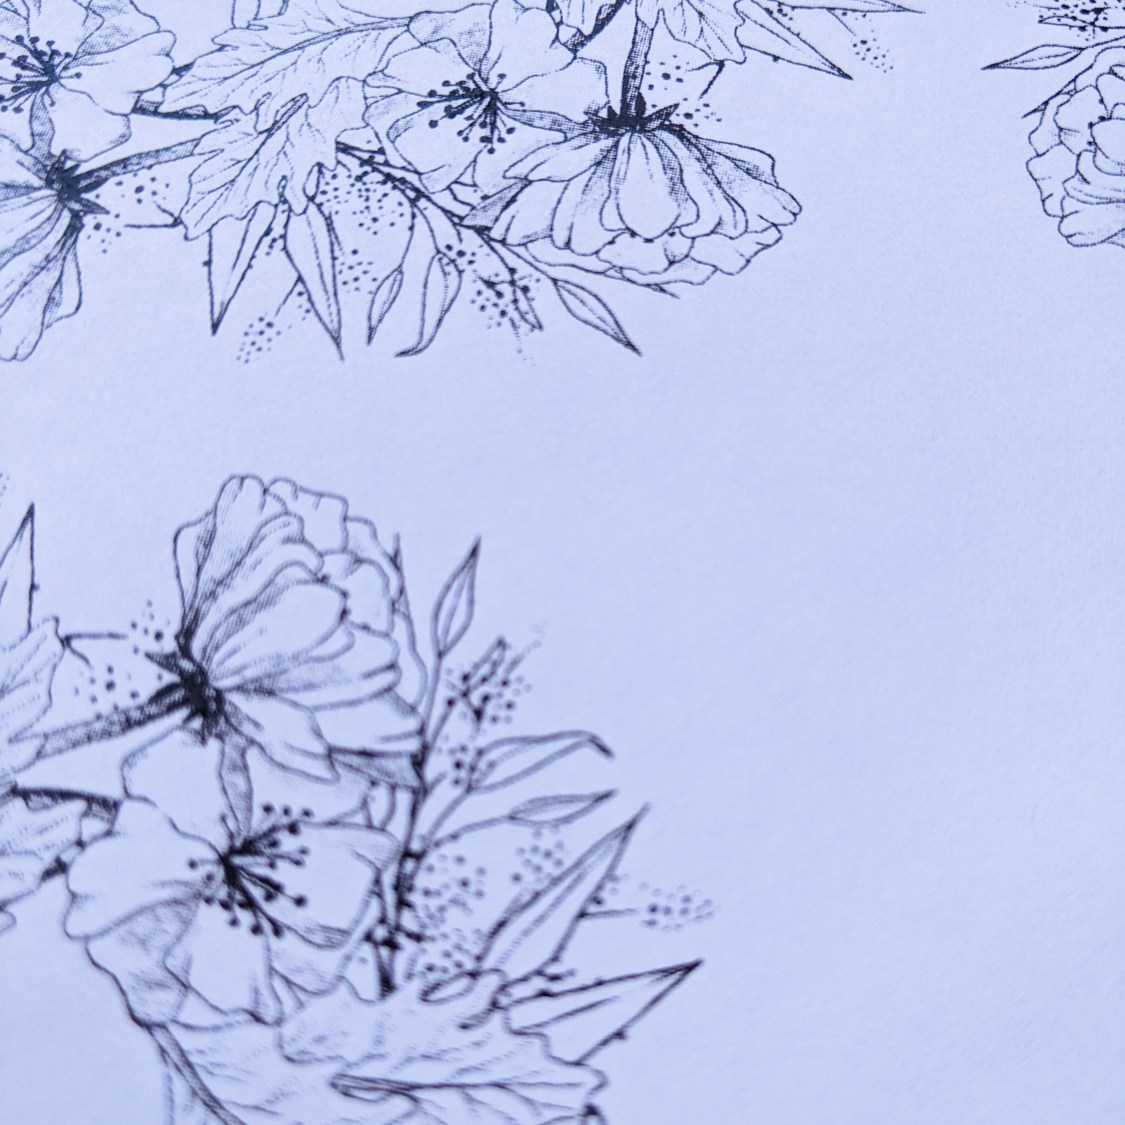
- Your design, printed so it’s mirrored (this is especially important if you’re using text—if you don’t mirror your print, the text will transfer back-to-front to your clay). I’ve included the floral wreath design I used for this tutorial, which you can use for free in all your personal projects. If you’d like a commercial licence for this design (and others) feel free to contact me for details. Also, check out my art page if you’d like to see more of my work.
Step 1:
Prime and roll out your clay to the desired thickness, then paint a thin layer of water over the surface. It’s fine if the droplets bead together, this step is just to help the design stick to the clay.

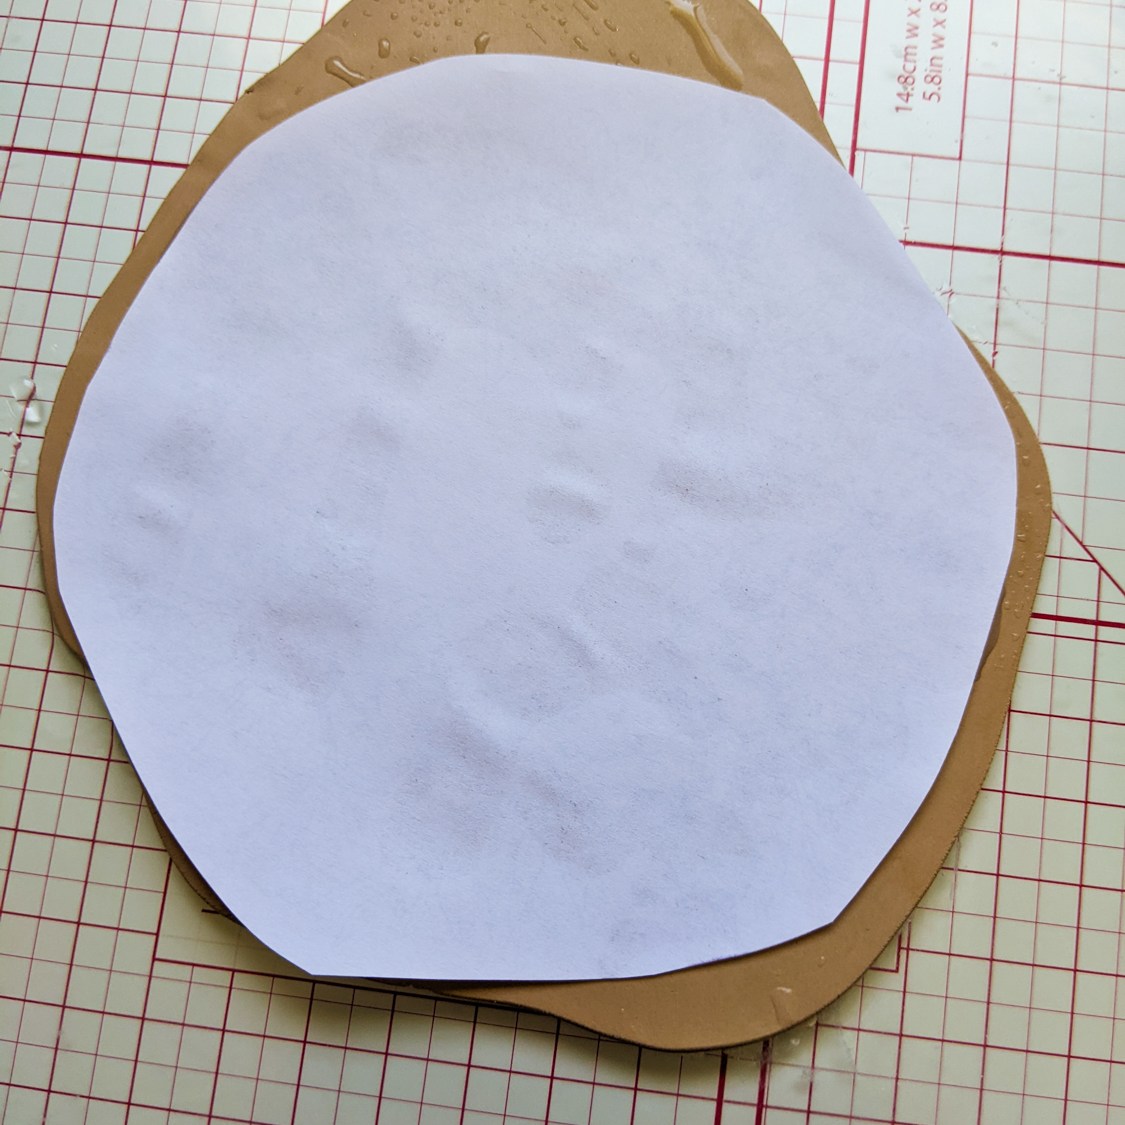
Step 2:
Place the design face-down onto the clay and gently press down the paper. The most important thing to remember here is to pat, not to rub it down. Any kind of sideways motion can cause the ink to smear, but honestly, the water/clay combination creates a sticky surface and the paper usually adheres just fine.


Step 3:
Once the paper is secure, paint another layer of water onto the back of the design, and press down the design using tapping motions. It’s important to remove air bubbles in this step. The design won’t transfer where the paper doesn’t adhere to the clay.


Step 4:
Allow the paper to dry completely. Depending on the size of your design, this can take anywhere from an hour to about two hours. You could also bake the clay at 130 C/275 F for about 10 minutes to speed up the drying process.
Step 5:
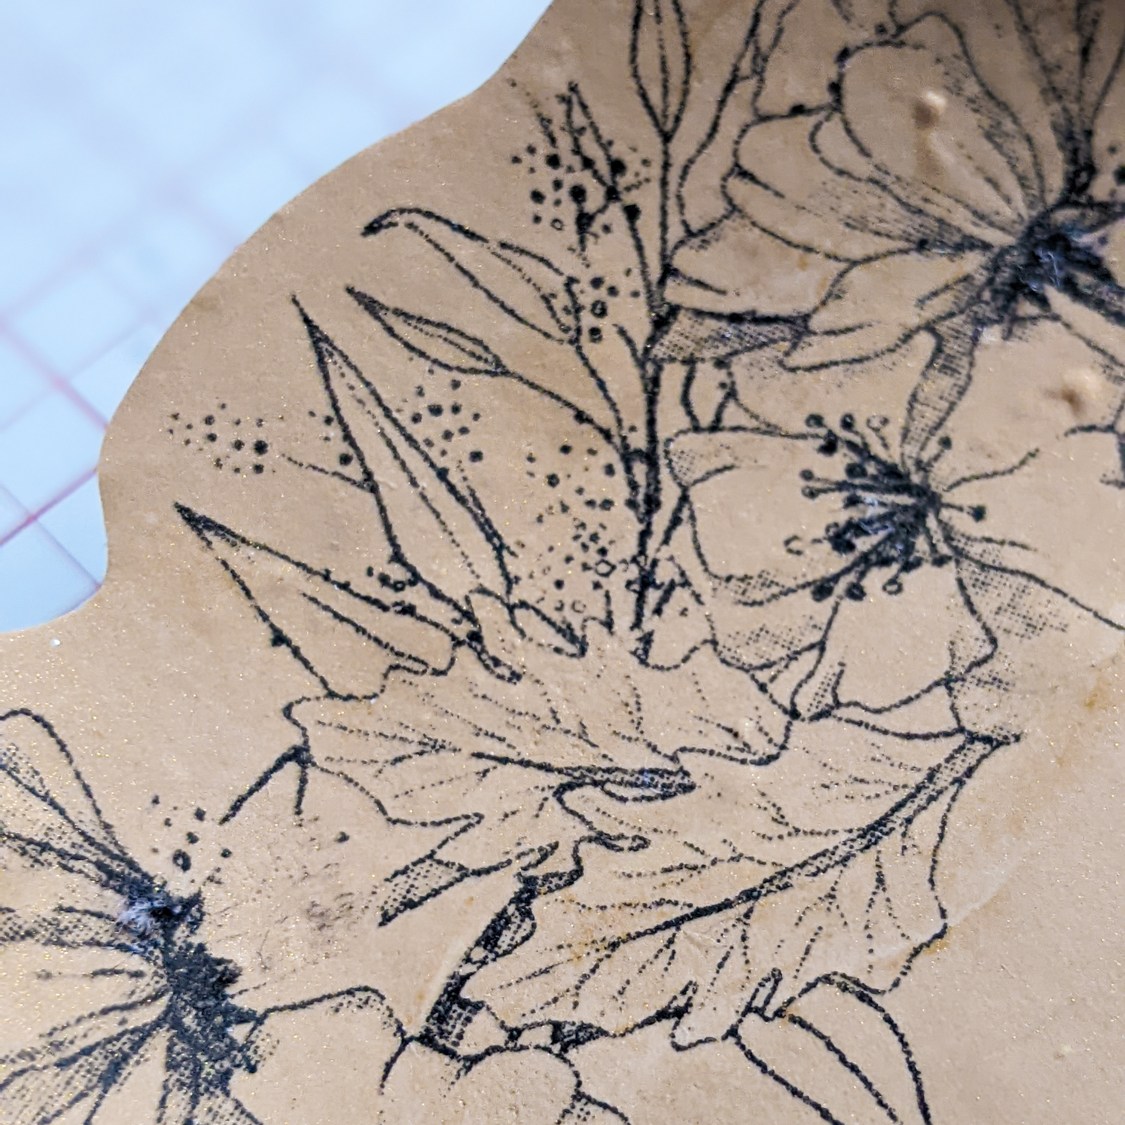
Once the paper is dry, gently pull off the paper. I like to keep the paper in a firm grip, following a low angle because it is possible to rip out chunks of clay by removing the paper too quickly. Ask me how I know. 🤣


Step 6:
Bake the clay as usual. I like to bake at 130 C/275 F for 40 minutes. After baking, you can safely touch the design without rubbing off the ink. I wouldn’t recommend liquids on the ink, but I removed patches of leftover paper with my fingernails and the design didn’t budge.
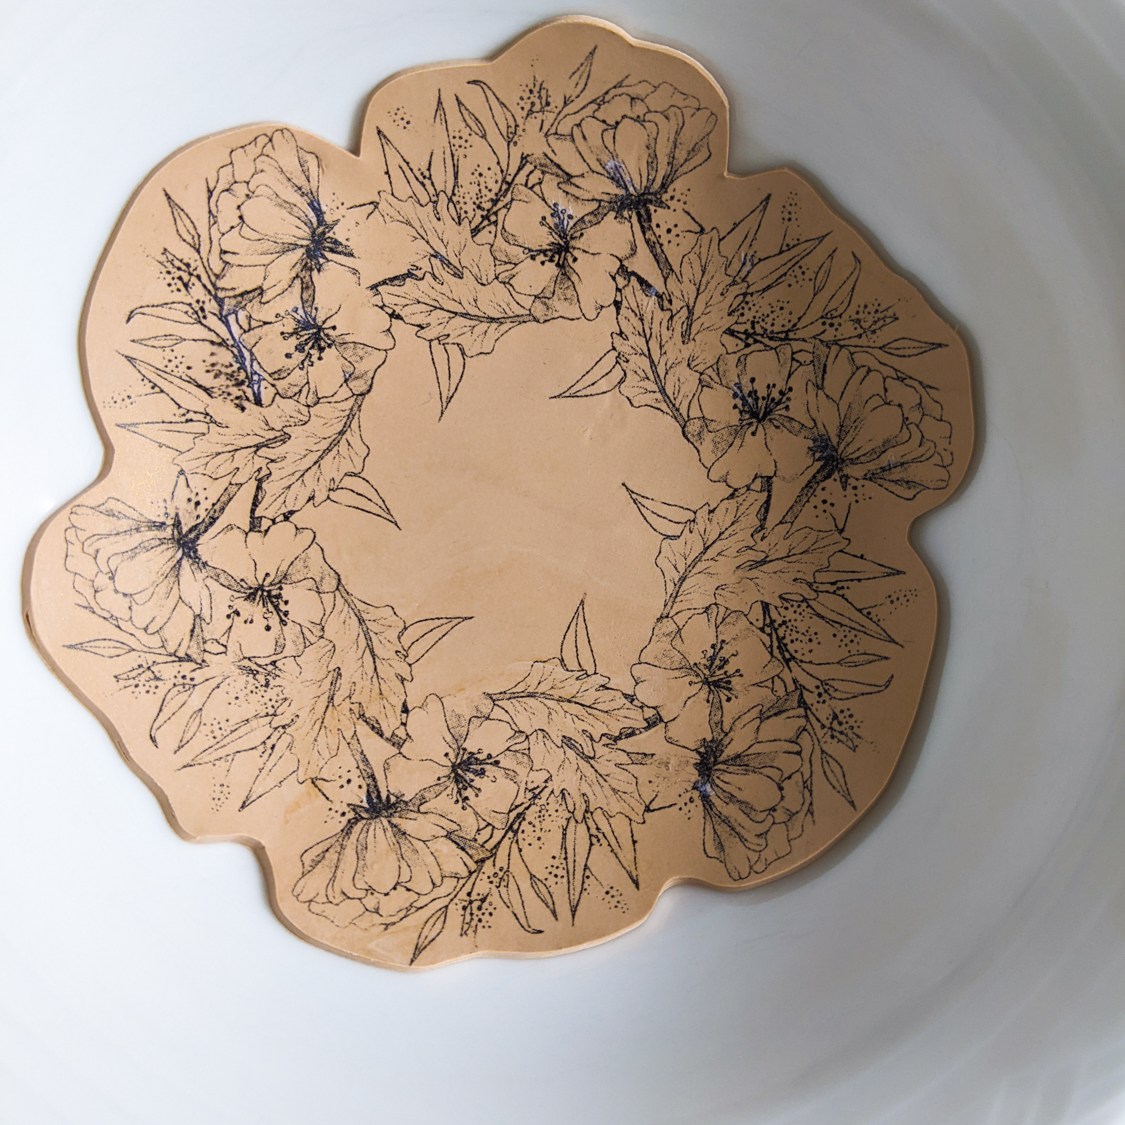
Step 7:
Set the ink with varnish, resin, or the sealant of your choice. I used UV resin for extra shine.


And that’s it!
So easy! If you’d like to see more of my polymer clay designs, check out my Instagram page: Foxie and the Moon.
Until next time.
Yolandie


