It’s been a hot minute, but I’ve been playing with acrylic paints again. This, of course, means canvas, and that leads me to today’s post.
I’m not usually one for following every art rule, so when the art gurus tell me that I must use canvas primers (or whatever other products), my rebellious streak makes itself known. Hello ADHD, amirite?
Gesso is the exception, though. I don’t necessarily view it as a hard art rule, but rather as a nice-to-have that makes my life easier.
Whether you view it as an unbreakable law or a good addition to your art making, gesso is a useful tool in your artist’s arsenal. So, let’s talk about it!
What is Gesso?
A primer that you apply to your canvas (or other surfaces) that:
- Gives the surface ‘tooth’ or grit, to which paint more easily adheres.
- Saturates and seals the canvas fibres, so less paint is absorbed during the painting process. This means the canvas warps less, which…
- Preserves pigment and prevents cracks, and the painting will last longer.
- Creates a uniform, matte finish in white, black, or clear.
- Because the product fills the little gaps in the canvas, it creates a smoother background that allows finer detail work.
- But gesso can also be layered to create textured backgrounds. Some artists even mix in body-building additives, like plaster of Paris, to add additional dimension.
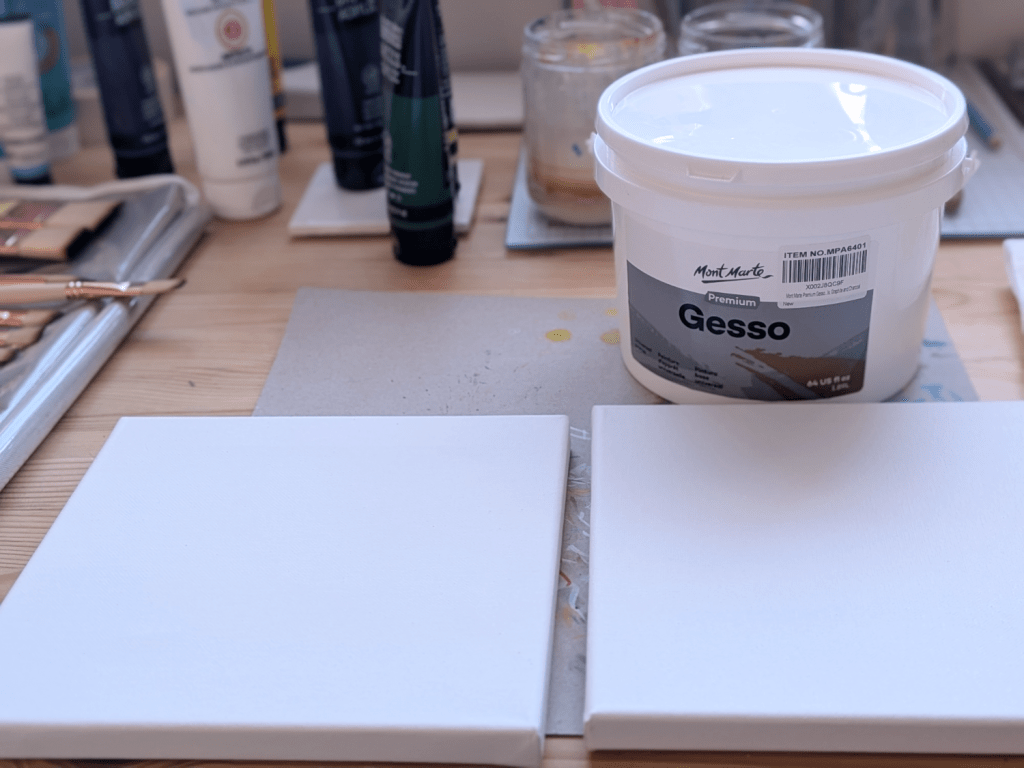
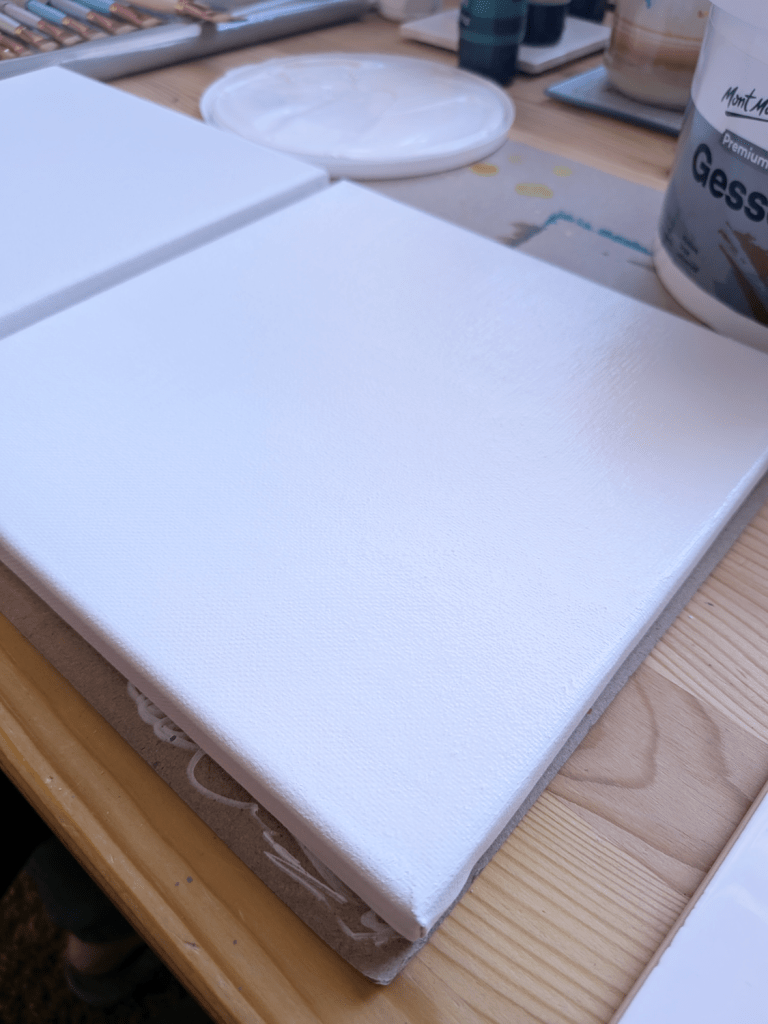
I use Mont Marte’s Premium Gesso in white (this is not a sponsored post). It comes in a 64oz (1.89 l) container, costs around CAD 36 (at the time of writing this post, anyway), and lasts basically forever. It’s the best value for money out there, IMO.
Do I believe that every artist MUST prime their canvases with gesso? No. My wallet, however, finds it handy when the canvas doesn’t slurp up so much freaking expensive paint. I also find it helpful to even out the little imperfections in the canvas before I start painting, and I do believe the colours are more vibrant on gessoed canvases versus raw ones.
Artist friends also recommend applying gesso to wooden surfaces, such as raw wood disks, because it is even more important to prevent cracks or warping. I haven’t personally tried that, but if I ever do, I’ll let you know.
As for longevity, I’ve never really minded all that much that my paintings might not last hundreds of years. Honestly, I’ll be dead, and thus won’t care. All that matters is that my art brings someone joy for a while.
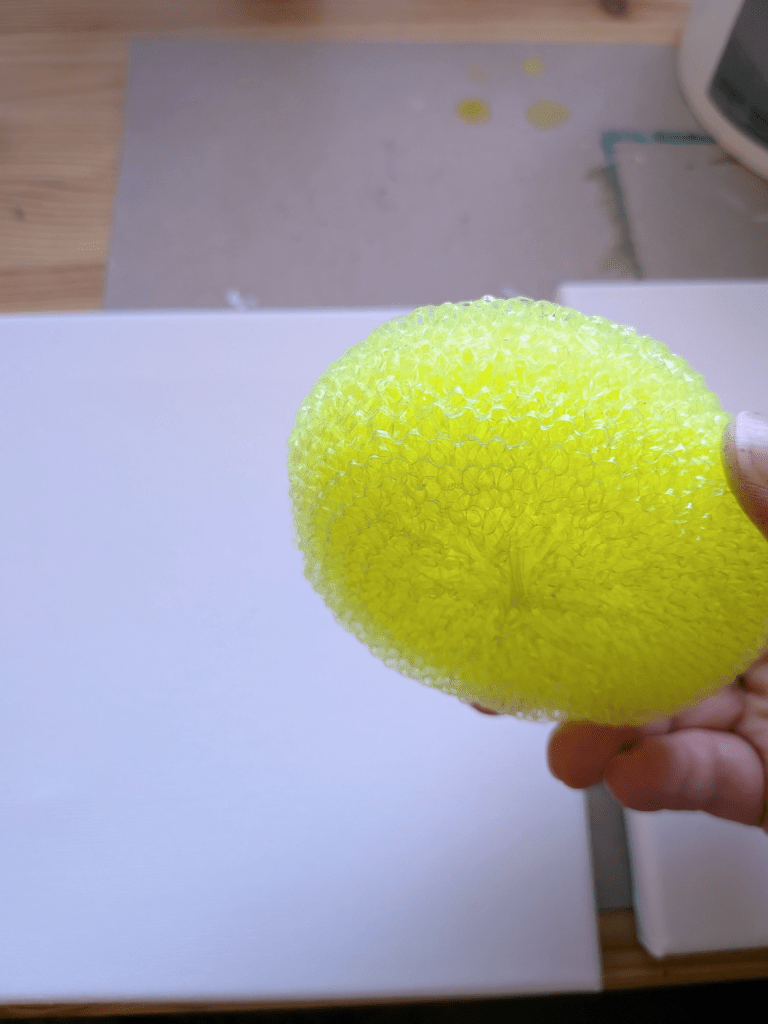
How to Apply Gesso:
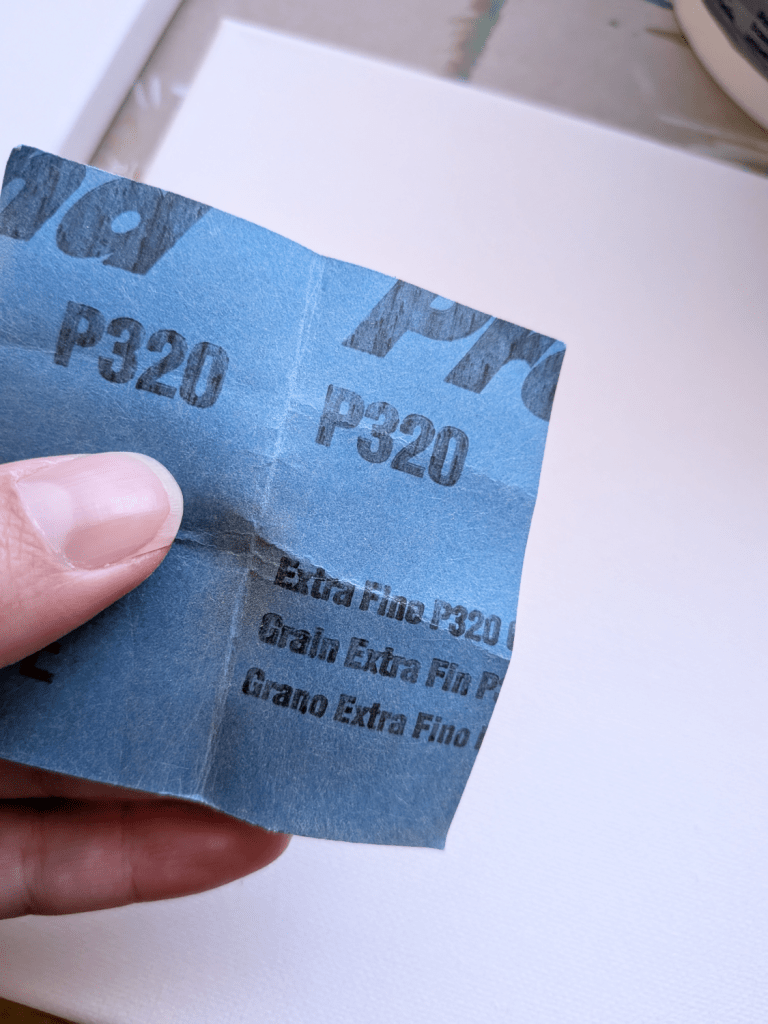
- I use a simple mesh scouring pad and fine-grit sanding paper to prep the canvas.
- For a smoother finish, I use a wide flat brush, but if you’d like extra texture, you can apply it with a palette knife, scraping tools, or whatever tickles your fancy.
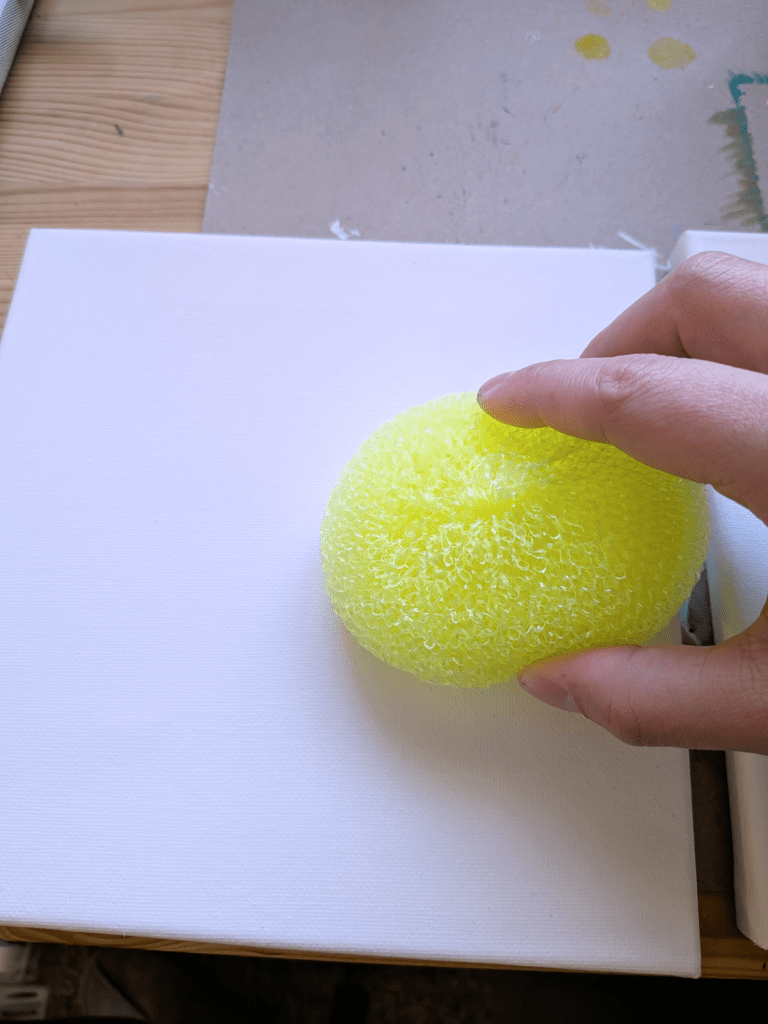
Step 1
Using the scouring pad, lightly scrape away any imperfections on the canvas.
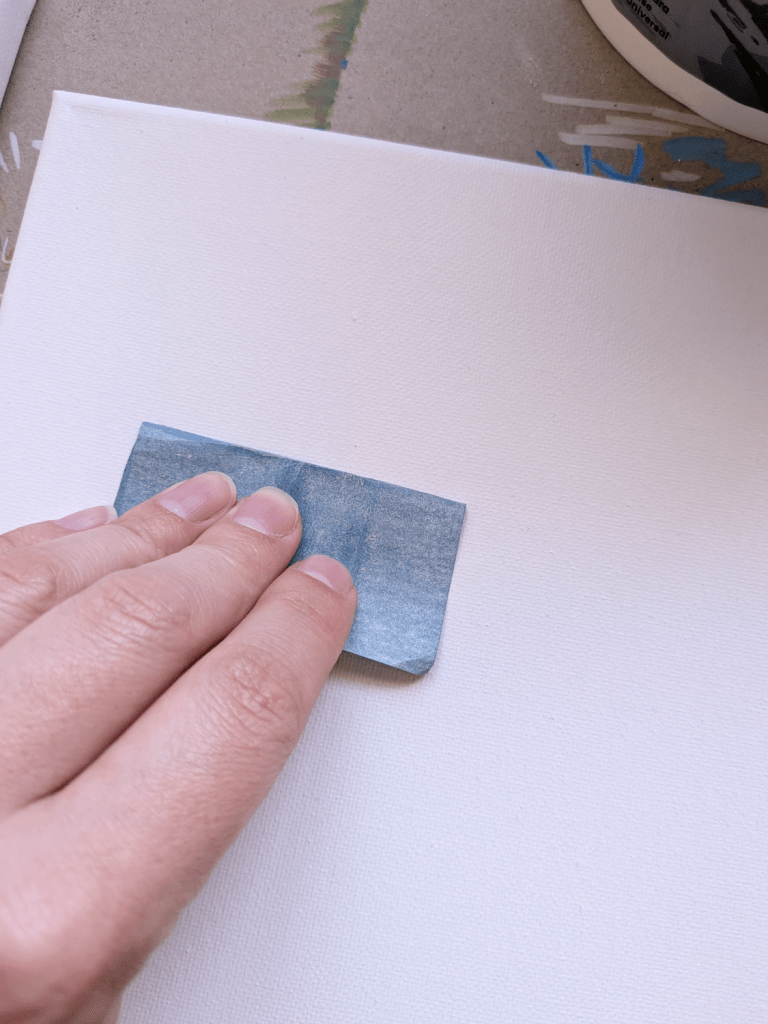
Step 2
Lightly sand the surface. This allows the gesso to stick better to the canvas.
Step 3
Brush away any dust with a flat brush, rag, or whatever you have handy. If you’re using the same brush to apply the gesso, just give it a quick rinse and pat-dry before continuing to the next step.
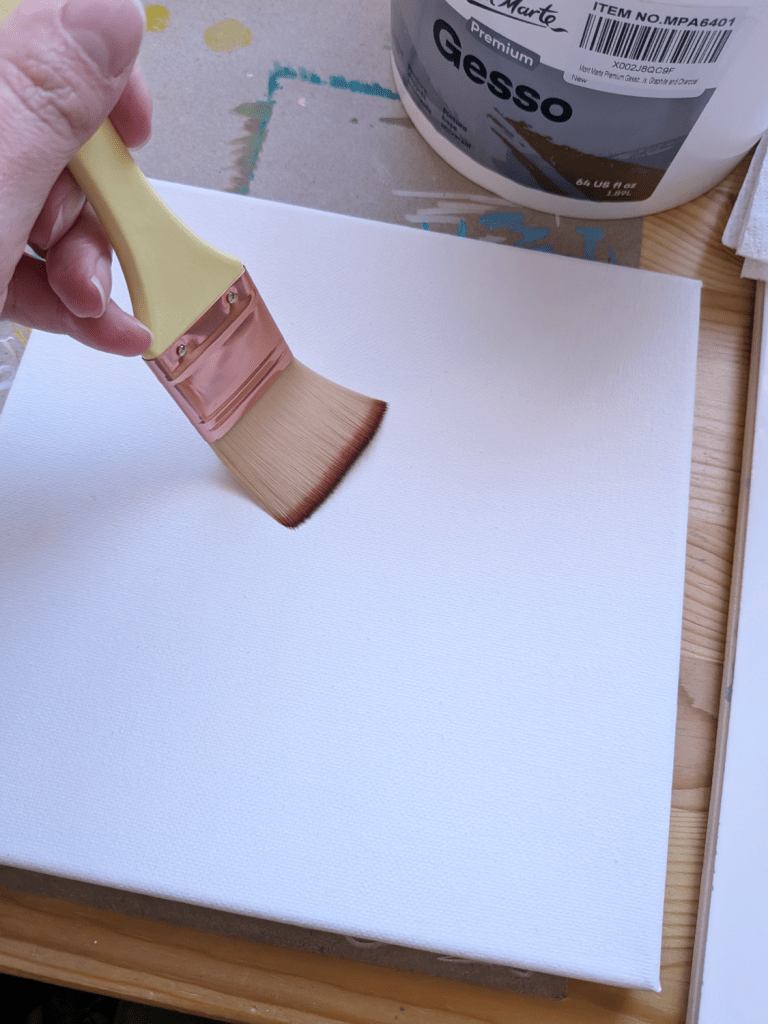
Step 4
Paint a thin layer of gesso using light, even strokes. I like to paint from left to right, then from top to bottom, and catch the sides of the canvas in the process. Allow the gesso at least half an hour drying time.

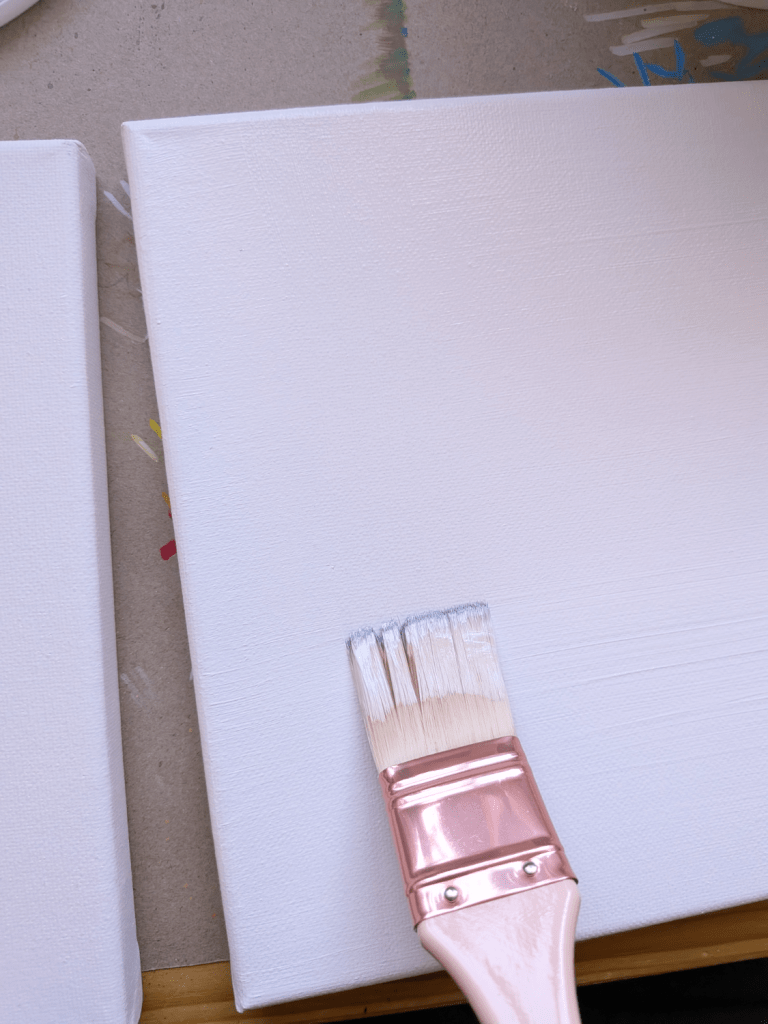
Step 5
Paint another thin layer using the same technique as before. If you’re interested in adding texture, many artists start building up the product in this step. Just keep in mind that thicker gesso will require longer curing times.
Two layers work just fine for me, but other artists swear by at least three layers. This is totally up to you.
Once the product is dry, it’s time to paint away.
And that’s it!
What are your thoughts? Gesso or not? Let’s chat in the comments.
Until next time.
Yolandie


Let’s Chat!