
I’ve been eyeballing punch needles for a good while now. Last year, I even purchased a punch needle kit from Michaels, but sadly the kit didn’t include the actual punch needle and the one I bought isn’t big enough to accommodate the yarn.
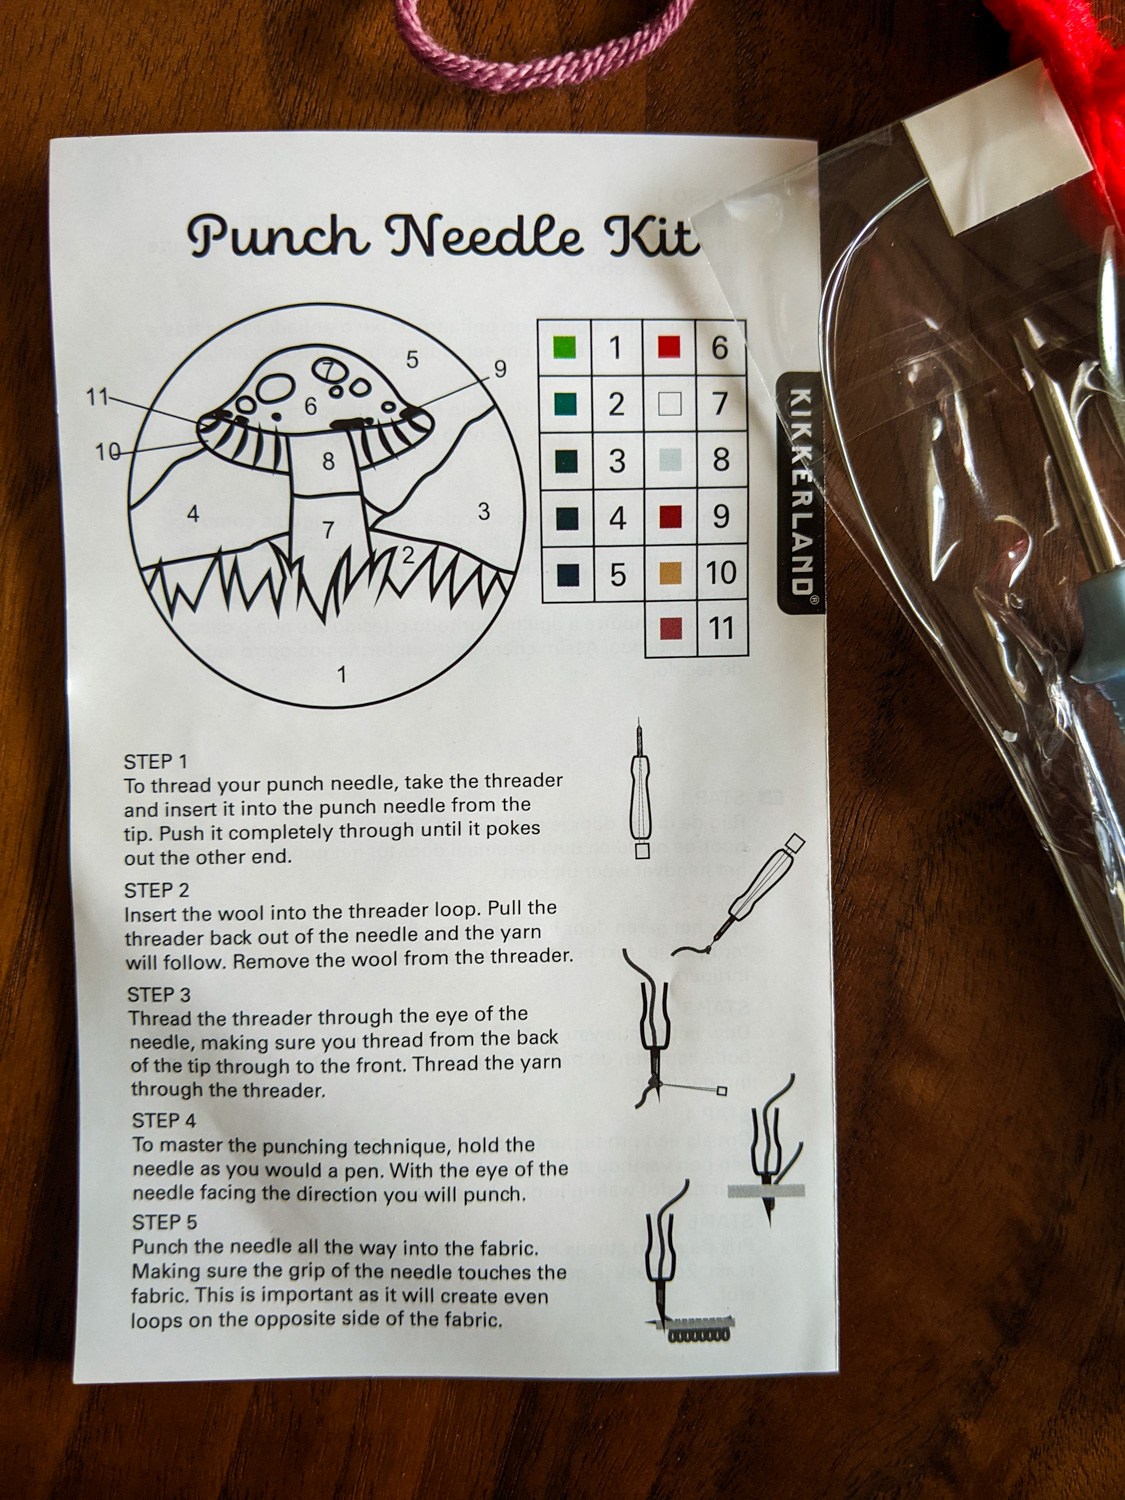
I was thrilled to receive a punch needle kit for Christmas! And, yay, this kit includes everything needed.
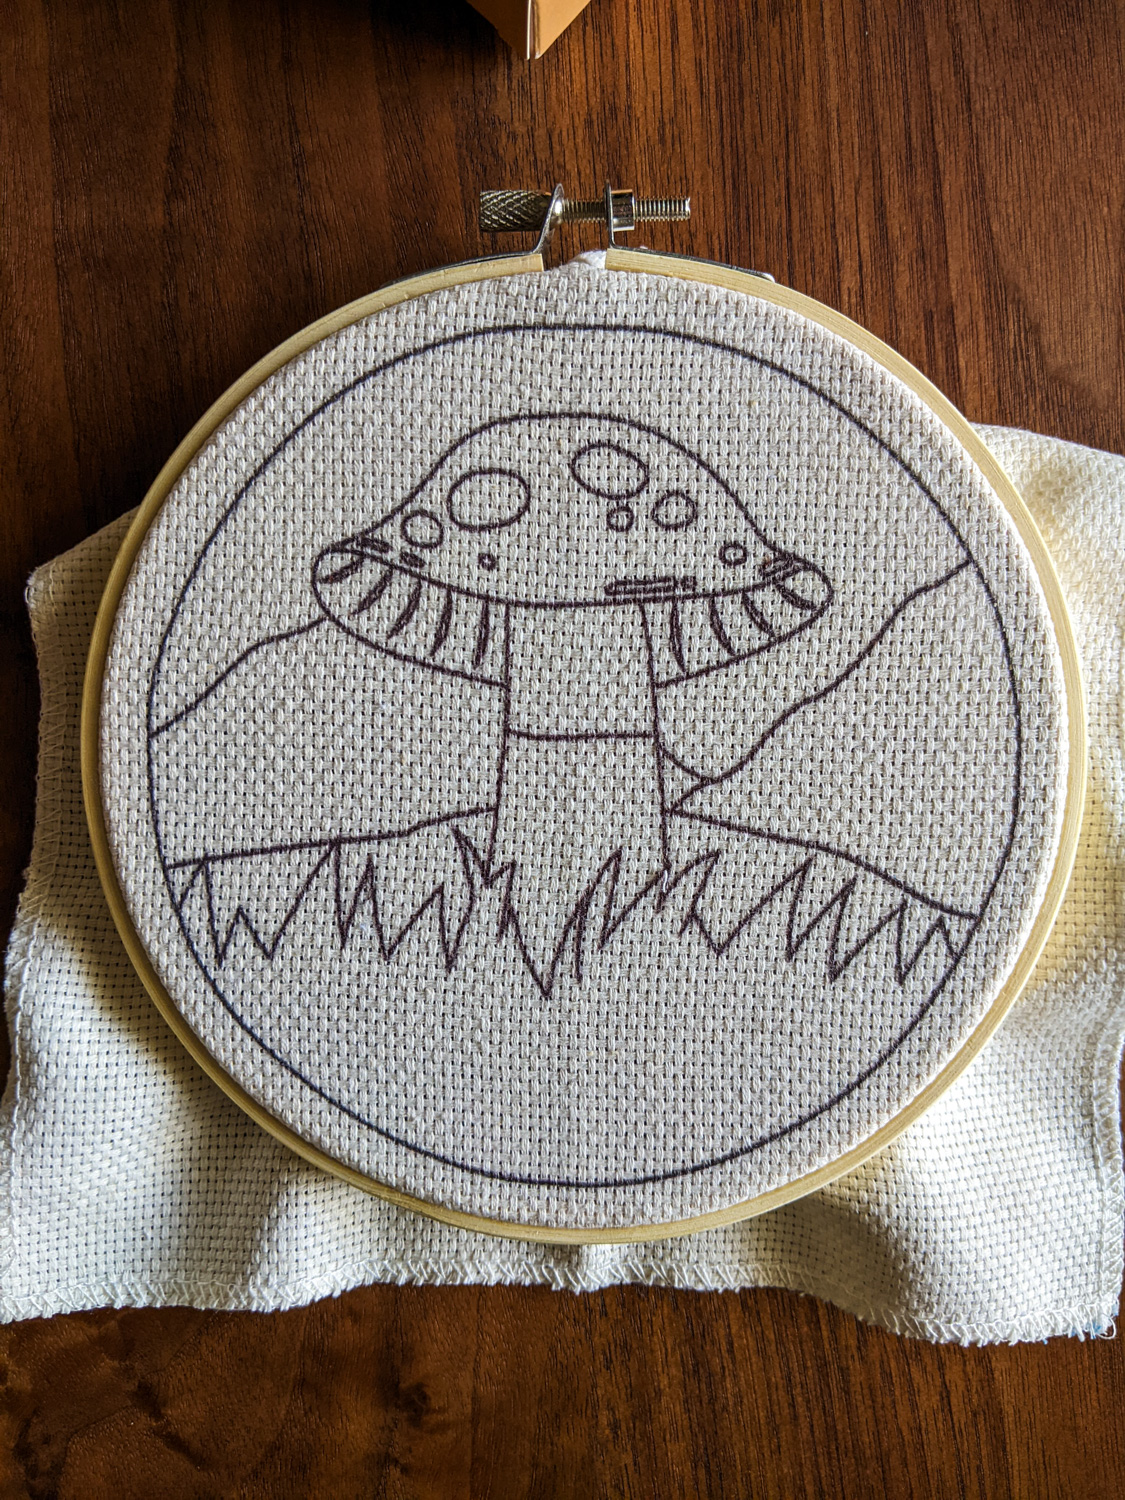
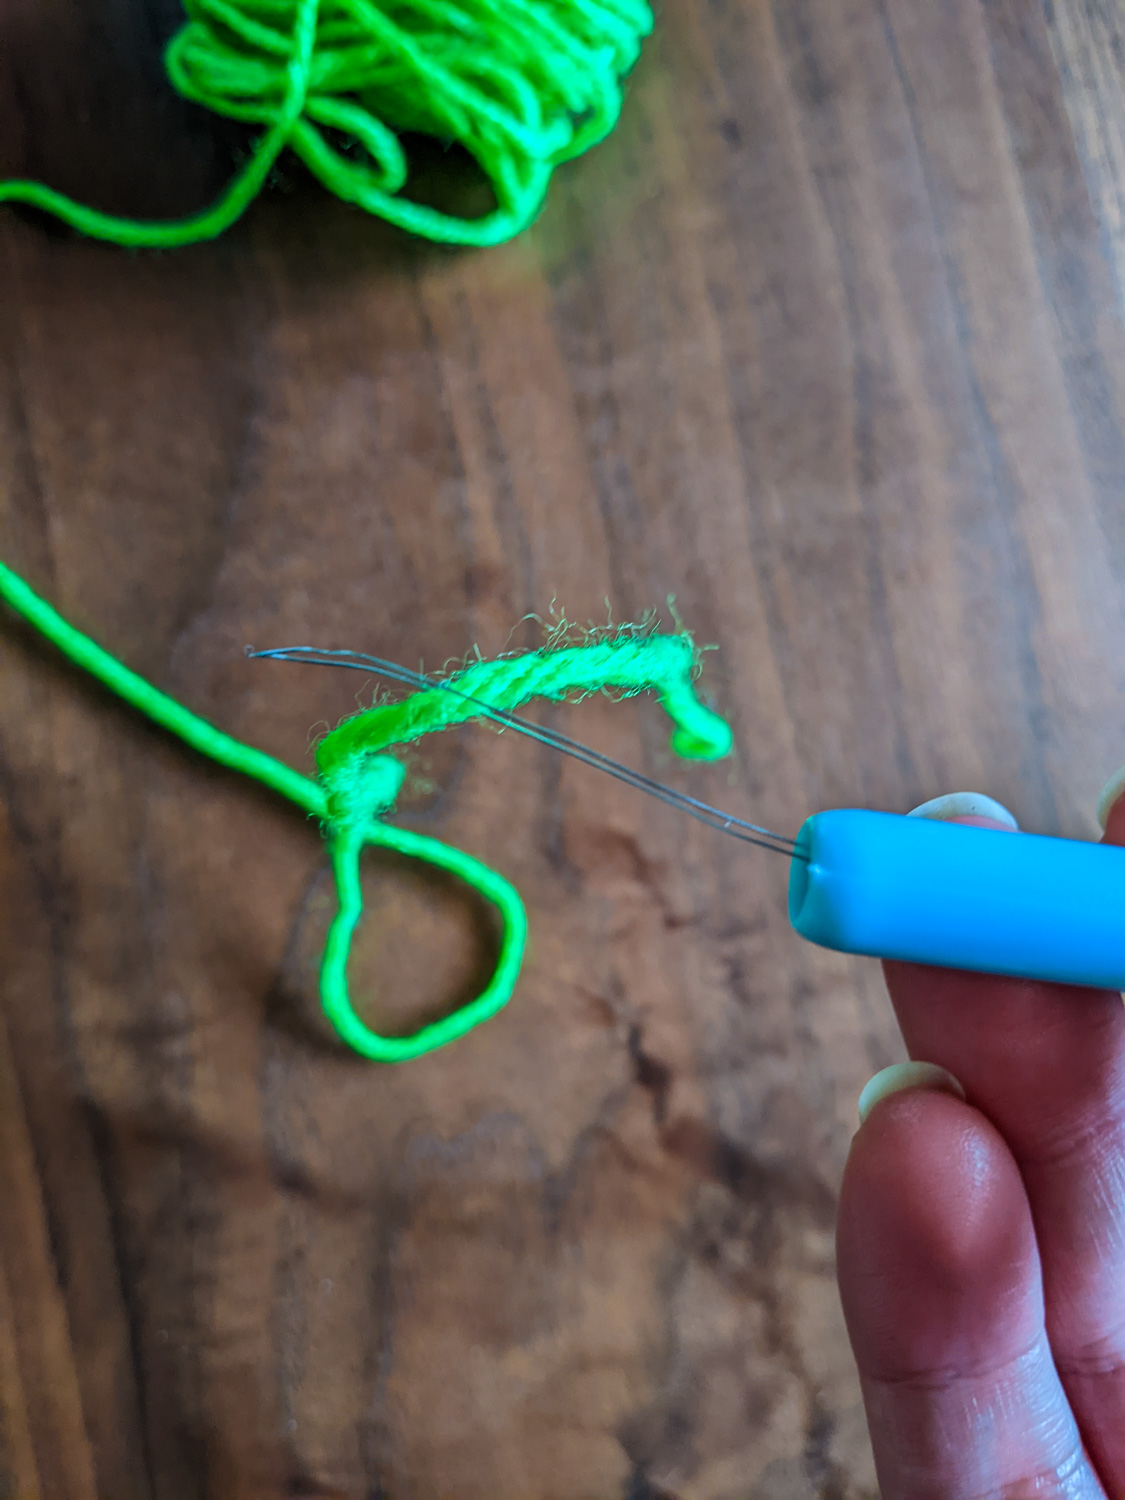
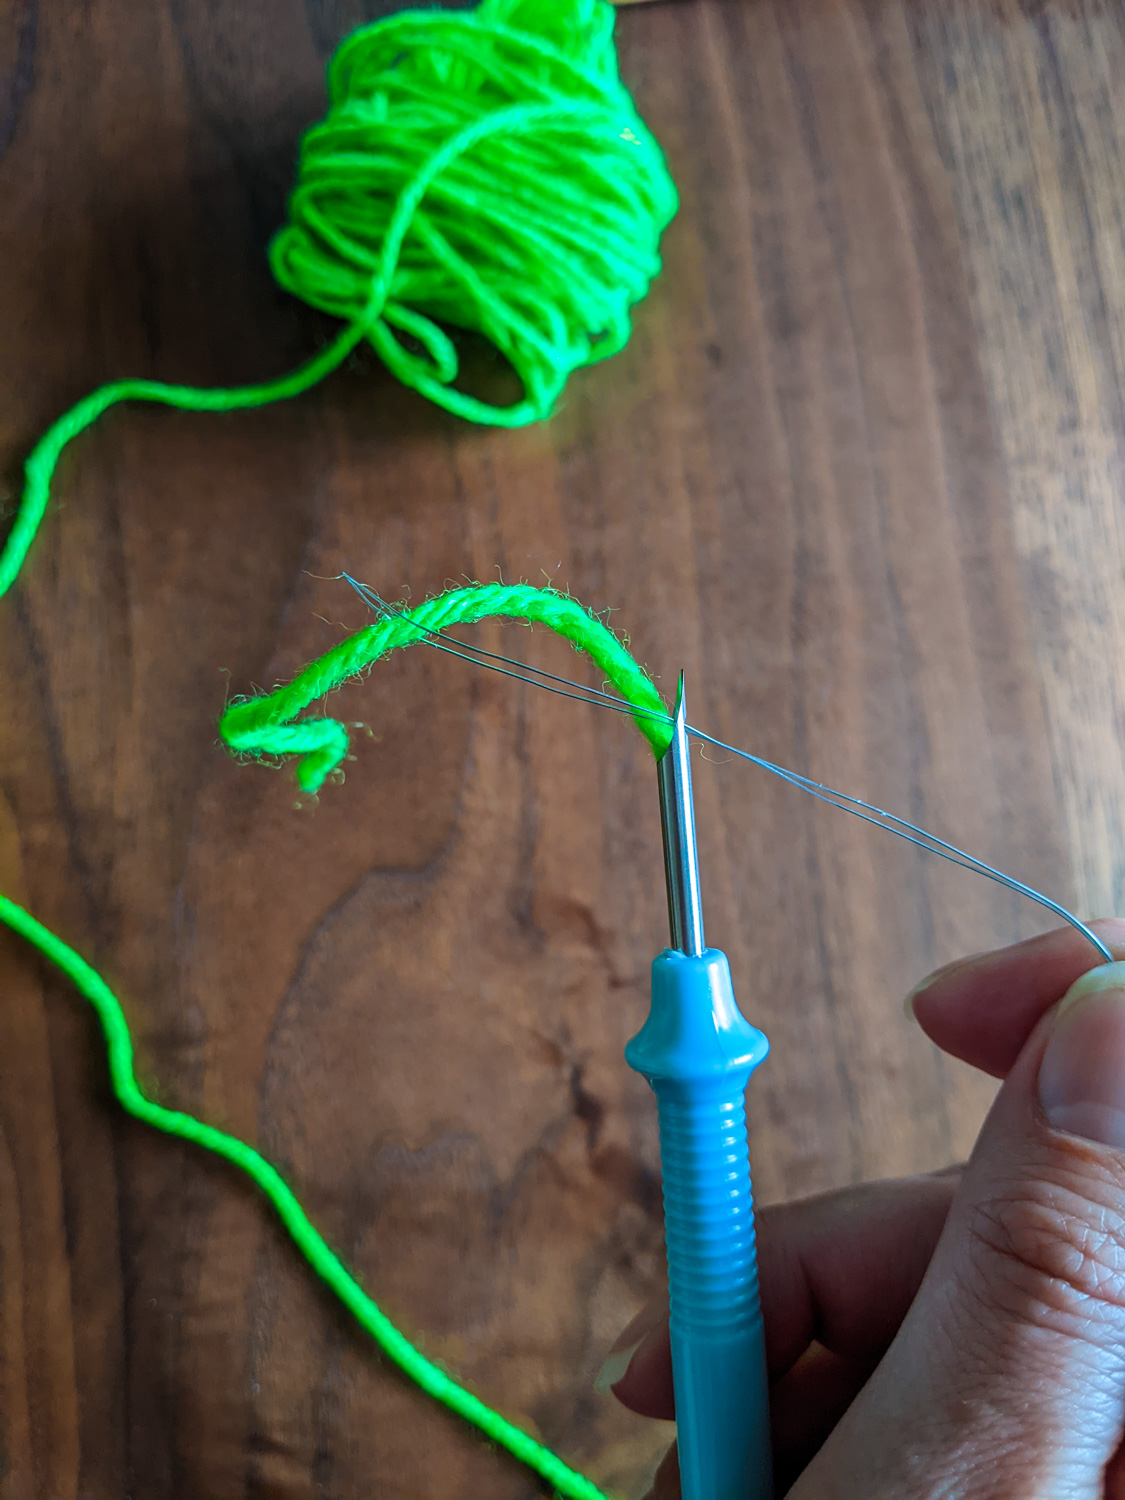
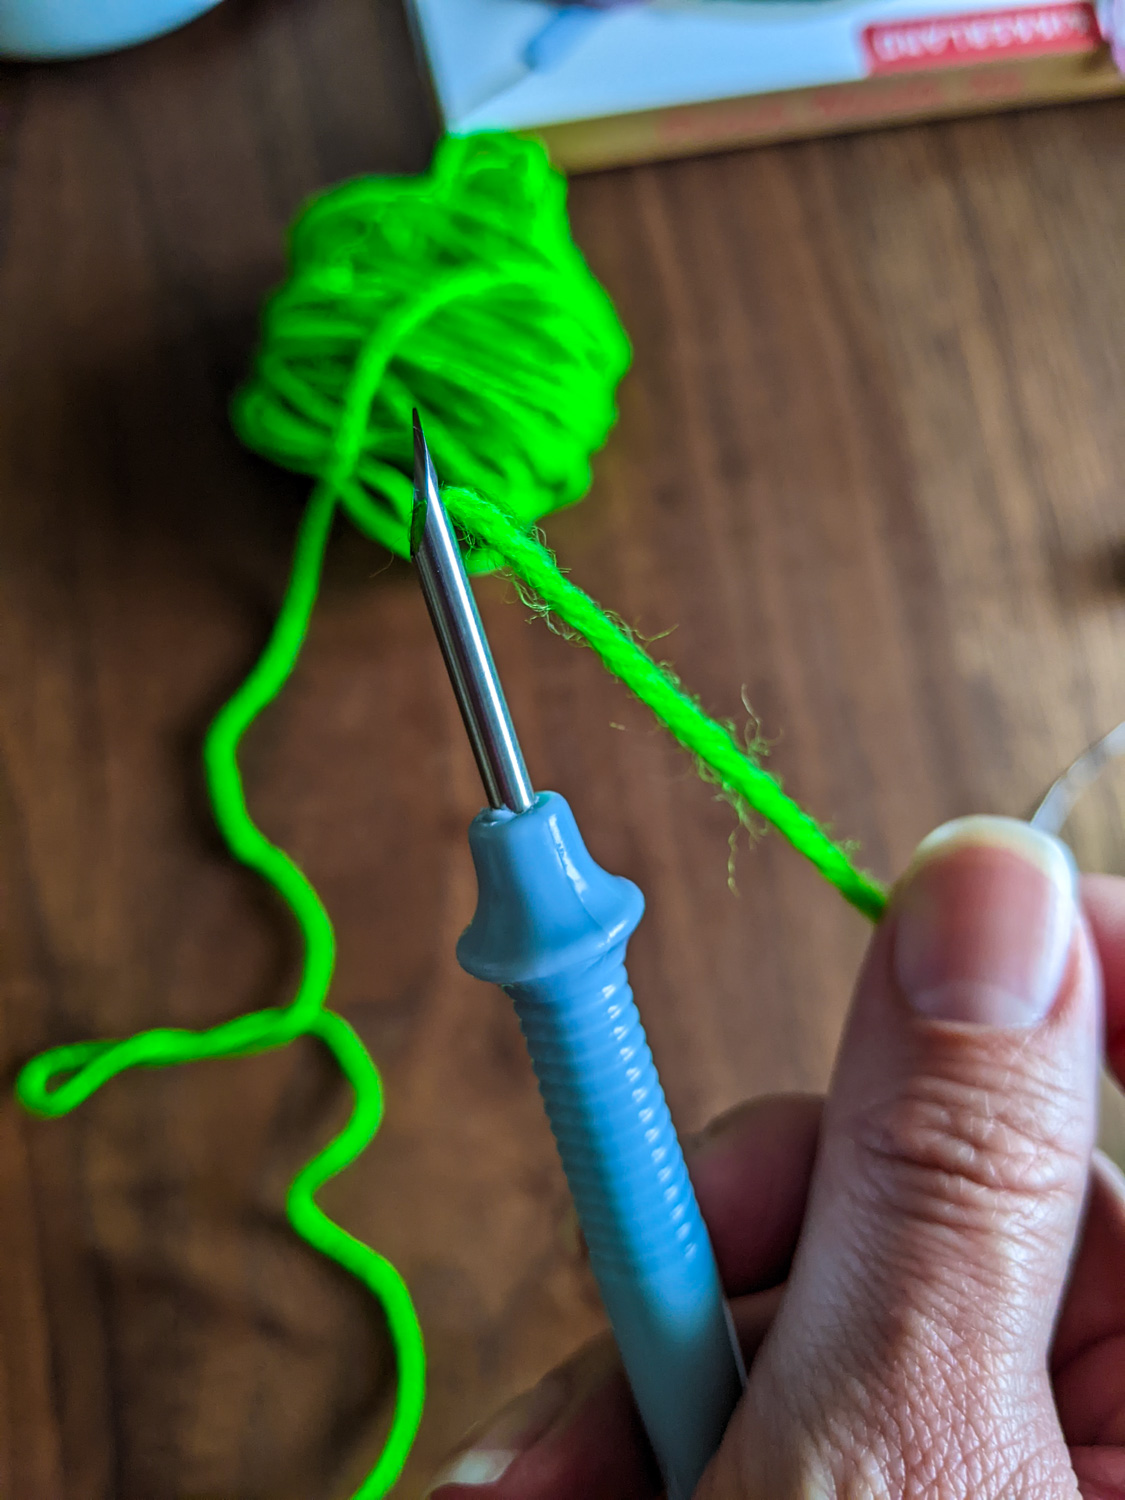
In all the years I’ve been a fibre art nut, I’ve never come across anything that works up as quickly as a punch needle. I finished the design in under two hours. Honestly, the part that took the longest was figuring out how to thread the needle (I consulted this easy-to-follow tutorial by The Urban Acres).
The most important things to keep in mind while working with a punch needle:
- The yarn should be loose—look out for knots and keep the yarn away from anything it could snag on.
- Point the tip of the needle to the back, the highest part of the opening should face in the direction you want to move the needle.
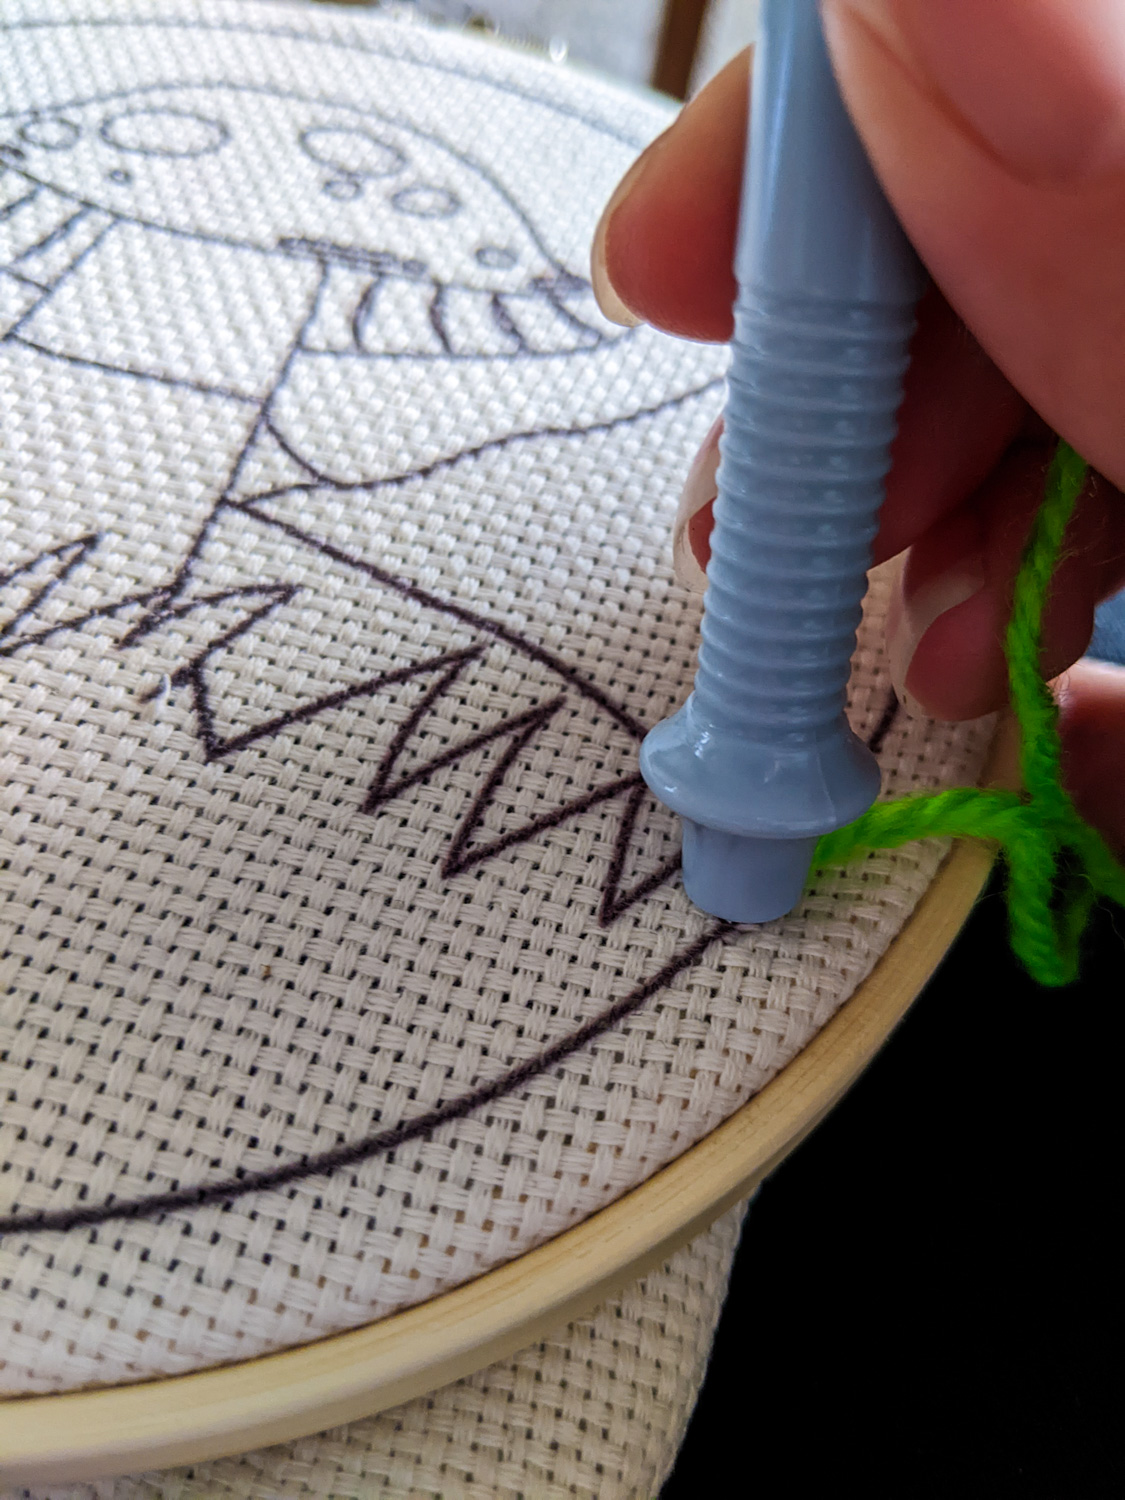
- Drag the tip of the needle over the fabric before you make the next stitch—if you lift the needle too far, the stitches won’t hold.
- Punch the needle all the way through, so the grip presses against the fabric. If you don’t punch the needle far enough, the stitches won’t hold.
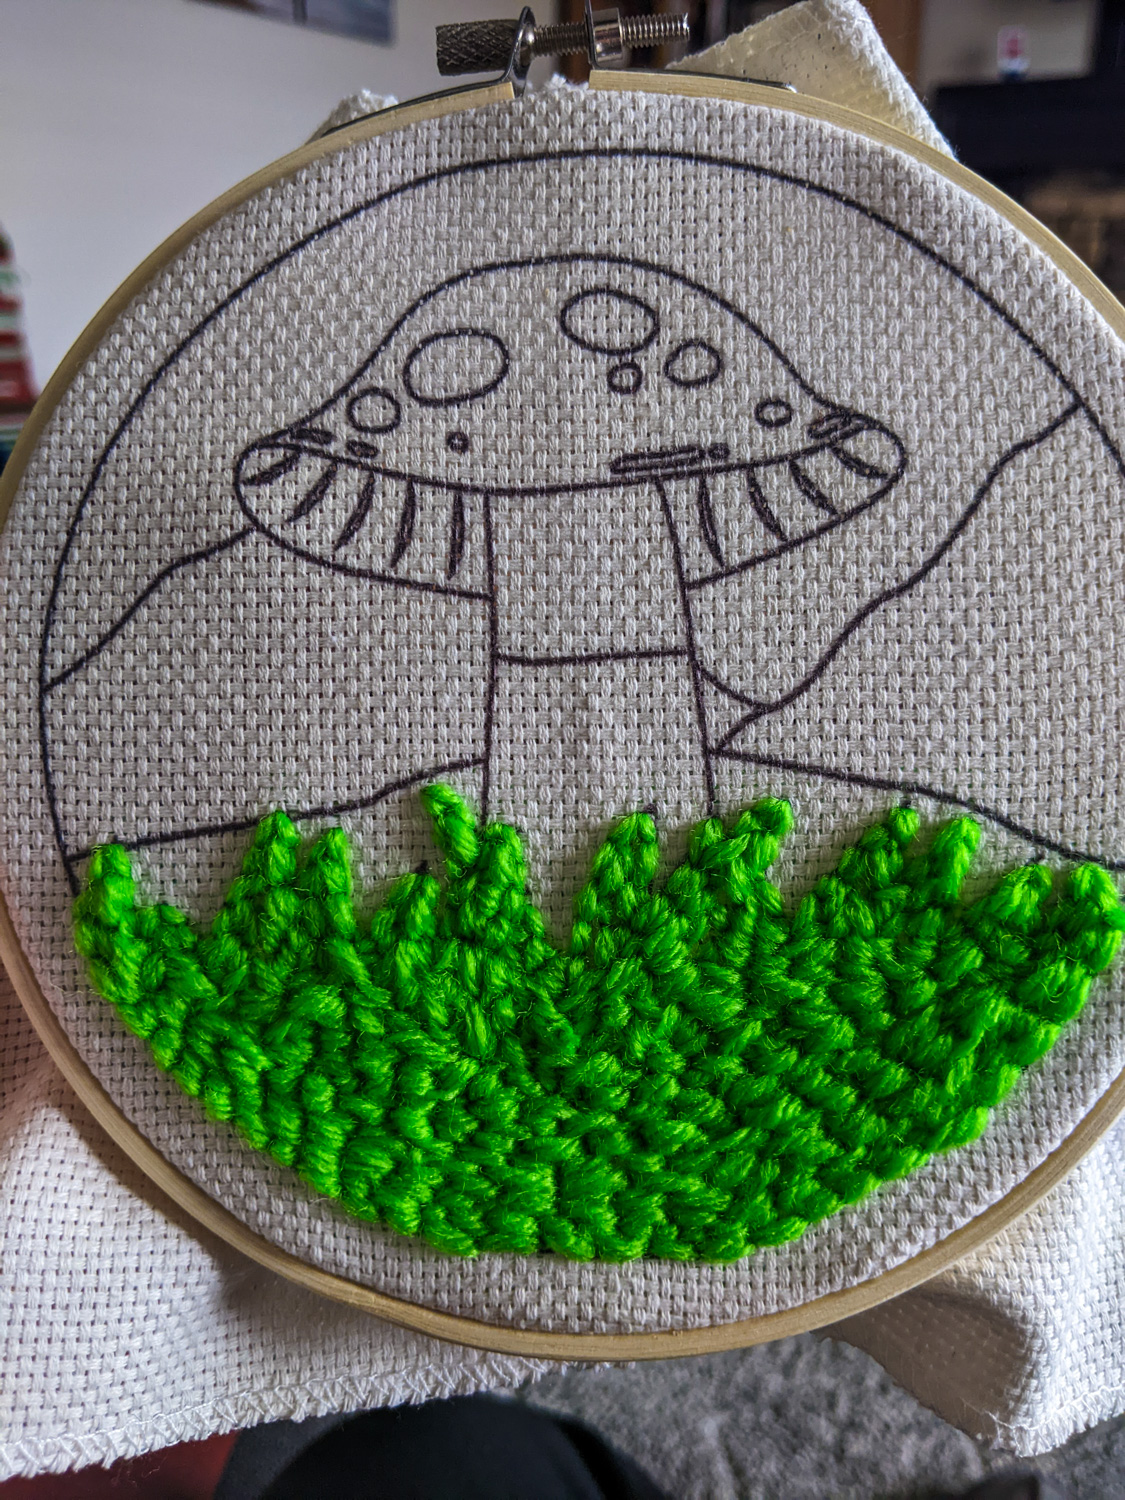
- For a flat stitch, fasten the linework of your art facing upwards on the embroidery hoop. For loop stitches, fasten the linework of the art facing towards the back of the embroidery hoop.


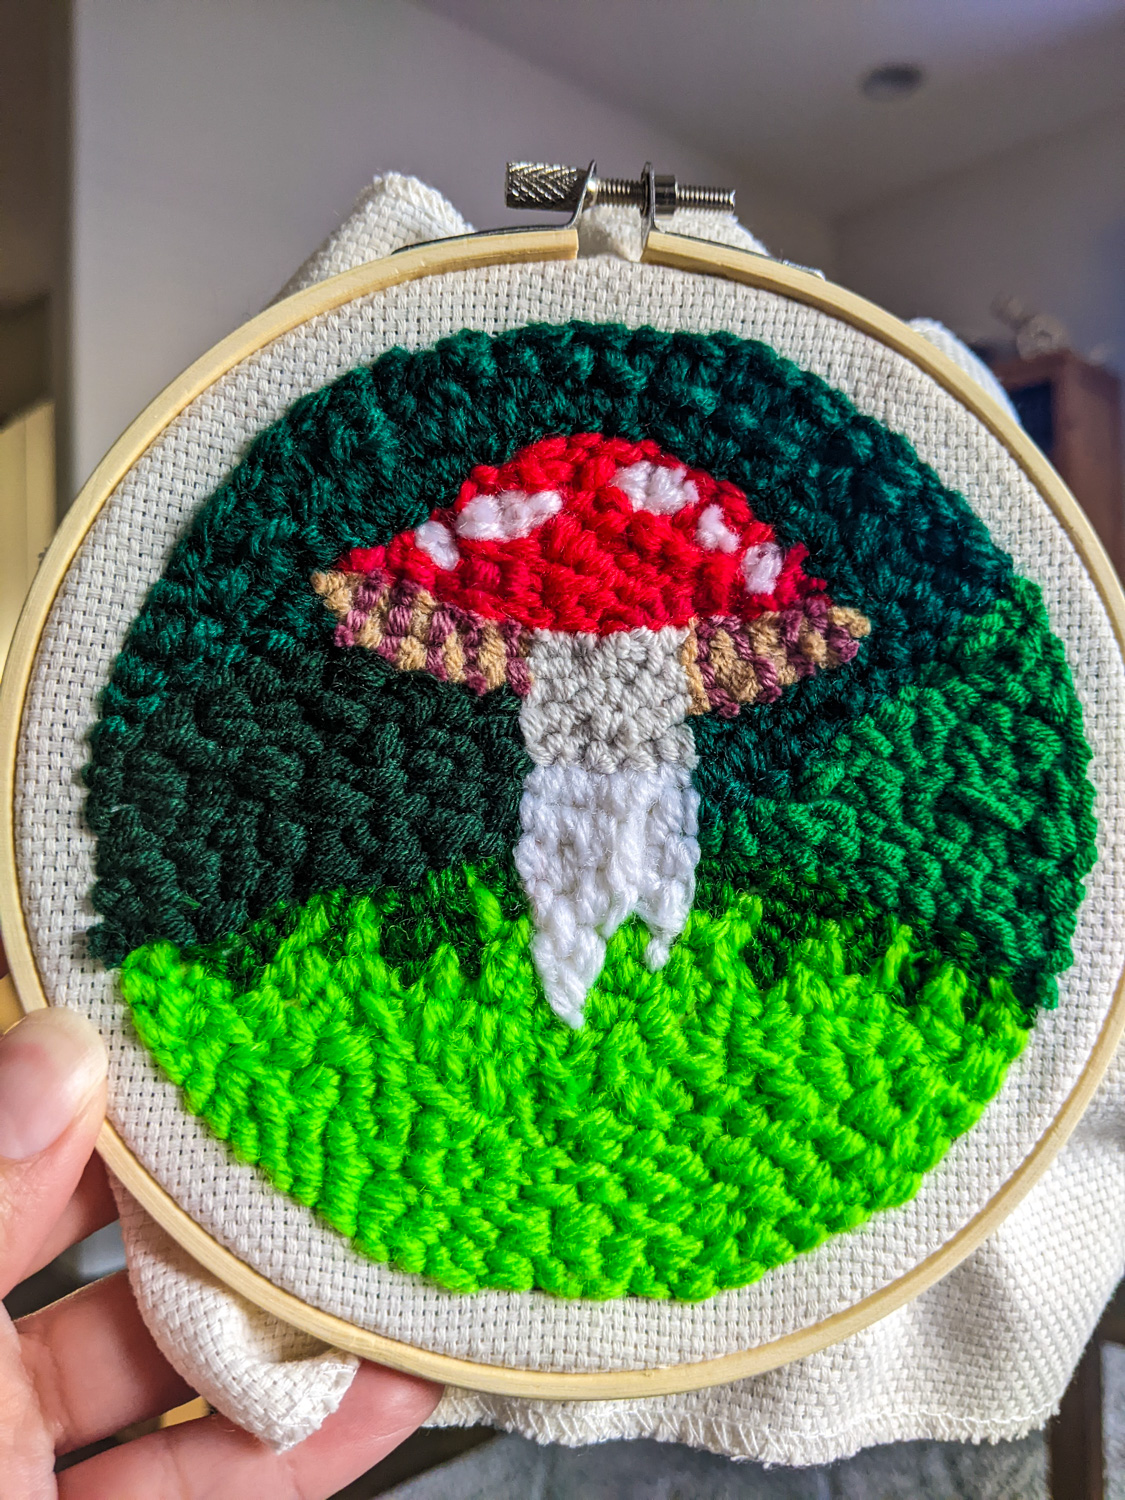

I’m excited to try my hand at more intricate designs as well as learning fancier stitches. Have you tried punch needle art?
Until next time.
Yolandie


Let’s Chat!